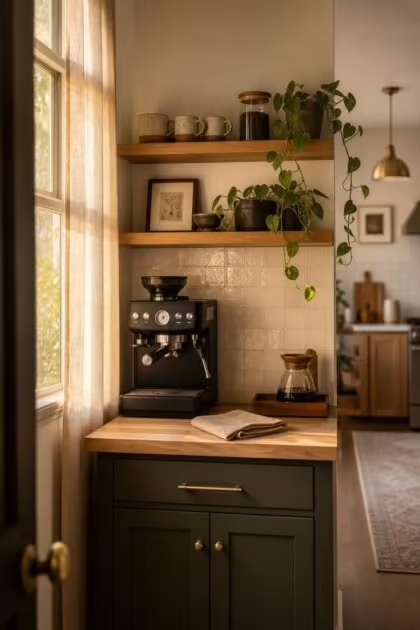
This post may contain affiliate links. If you make a purchase through these links, we may earn a commission at no additional cost to you.
Most kitchens have a corner that does nothing, a strip of countertop between the fridge and the wall where mail stacks up and crumbs collect behind the toaster.
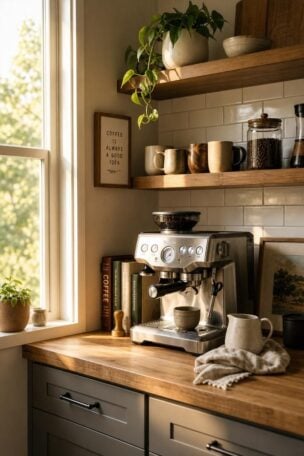
That dead zone is the strongest candidate for a coffee bar with floating shelves, and not because of the coffee itself.
The reason is structural: two perpendicular walls create vertical real estate that a single countertop run cannot match, and floating shelves let you claim it without closing the corner in.
What follows is a close look at the design decisions, the hardware details, and the styling logic that separate a corner people walk past from the corner everyone walks toward.
Why a Dead Corner Outperforms a Full Counter Run for Coffee
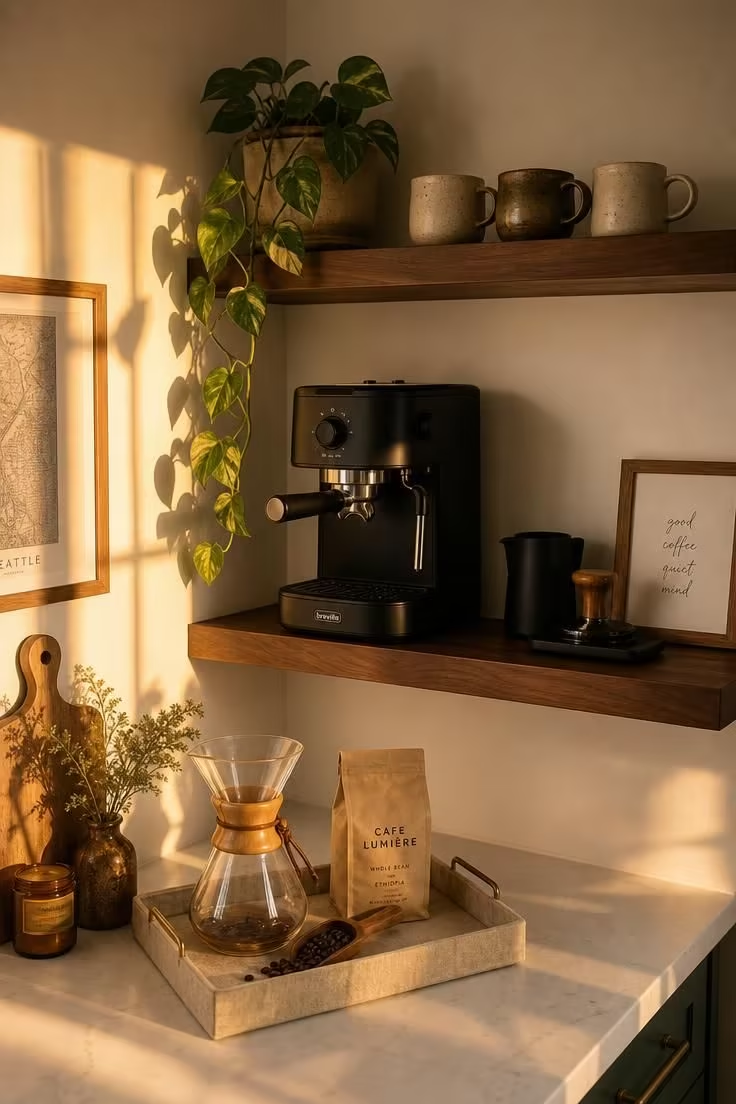
The coffee bar is the most sought-after kitchen feature in 2026, according to multiple design trend reports, and the term “cafecore” has entered the mainstream vocabulary of kitchen renovations.
What makes this trend more than a passing aesthetic is its logic: a contained corner works harder for a coffee station than an open stretch of counter because the corner provides two walls to anchor shelves against.
That perpendicular geometry creates depth that a linear counter simply does not offer.
A 24 to 36 inch wide corner gives you enough surface for a machine and a grinder while the walls above hold everything else, from mugs to canisters to a small plant.
Designers working in small kitchen coffee corner layouts have noted that containment is the design advantage, not the limitation.
When the zone is small, you edit naturally, and editing is what makes a coffee station shelving setup look deliberate rather than dumped.
The Vertical Advantage of Floating Shelves Over Closed Cabinetry
Upper cabinets close a corner in visually, making a small space feel tighter and darker.
Floating shelves do the opposite: they hold weight without blocking the wall behind them, so the corner keeps its depth and light.
There is a practical argument too, one that matters most at 6 AM when your coordination is still waking up.
Wall mounted coffee shelves let you grab a mug with one hand while the other holds a carafe, no door to open, no handle to fumble with.
The visual weight difference is worth noticing, since a row of cabinets reads as “storage wall” while a pair of floating shelves reads as “display.”
That distinction shifts how the brain categorizes the corner, from utility zone to something closer to a styled vignette.
Cost is another advantage worth mentioning: two or three quality floating shelves with concealed brackets run a fraction of what custom cabinetry would cost, and most confident DIYers can install them in an afternoon.
Shelf Height and Spacing Rules for a Station That Feels Natural
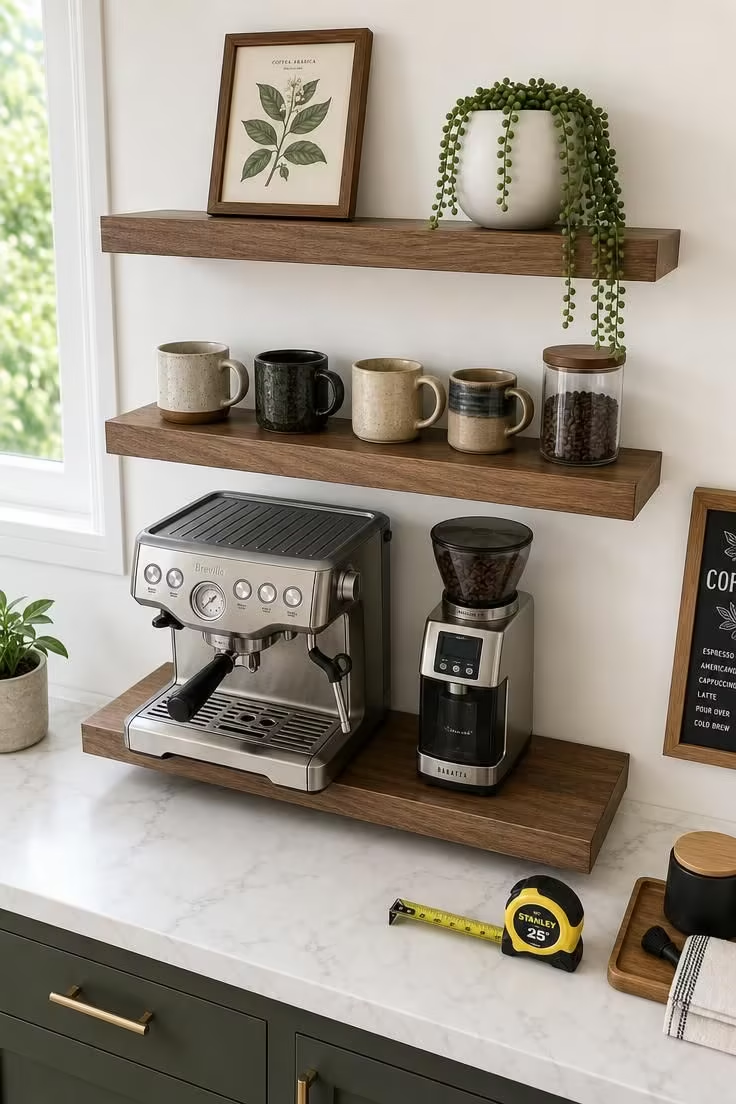
The primary working shelf, or the counter surface beneath the lowest shelf, should sit 36 to 42 inches from the floor.
That range matches standard kitchen counter height and keeps the machine at a comfortable operating position for most adults.
Above the counter, the first floating shelf should clear your tallest appliance by at least 3 inches, giving you room to open a hopper lid or remove a portafilter without scraping the shelf above.
Between shelves, 12 to 16 inches of vertical space works for most coffee bar layouts.
Go with 14 to 16 inches if the middle shelf will hold tall mugs, travel tumblers, or a pour-over cone that needs clearance.
The three-tier logic is straightforward: lowest level for the machine and active tools, middle shelf for daily mugs and bean storage, top shelf for things you reach for weekly or less.
Measuring your tallest item first, whether that is a drip brewer or a kettle, prevents the most common installation mistake: mounting the bottom shelf too close to the counter and having to remove it and re-drill.
A quick dry run with painter’s tape on the wall, marking where each shelf will sit, takes ten minutes and saves hours of frustration.
Choosing Brackets That Can Handle an Espresso Machine Without Sagging
A floating shelf can support 45 to 50 pounds for every wall stud the bracket reaches, which means a two-stud mount can hold 90 to 100 pounds when properly installed.
That capacity is more than enough for most drip machines, but a full-size espresso machine with a water reservoir can weigh 25 to 40 pounds on its own, so skipping the stud finder is not an option for an espresso machine shelf.
Hidden rod brackets give the cleanest look because the hardware disappears inside the shelf, but they require a shelf thick enough to house the rod, usually 2 inches or more.
L-brackets are the most affordable and easiest to install, and they work well when the bracket finish matches other hardware in the kitchen.
Pipe brackets suit industrial or farmhouse aesthetics and tend to be overbuilt for their purpose, which is actually an advantage for a shelf holding heavy equipment.
The detail most people overlook is the gap between mounting points: if your shelf is 36 inches long but only anchored at two points 24 inches apart, the unsupported ends will flex under weight and eventually bow.
Design Pro-Tip: Before you mount anything, place your heaviest item on the shelf while it rests on a flat surface. If the shelf bows even slightly under static weight, it will sag on the wall within months. Swap for a thicker board or a shorter span.
The Backsplash Decision That Defines the Whole Station’s Personality
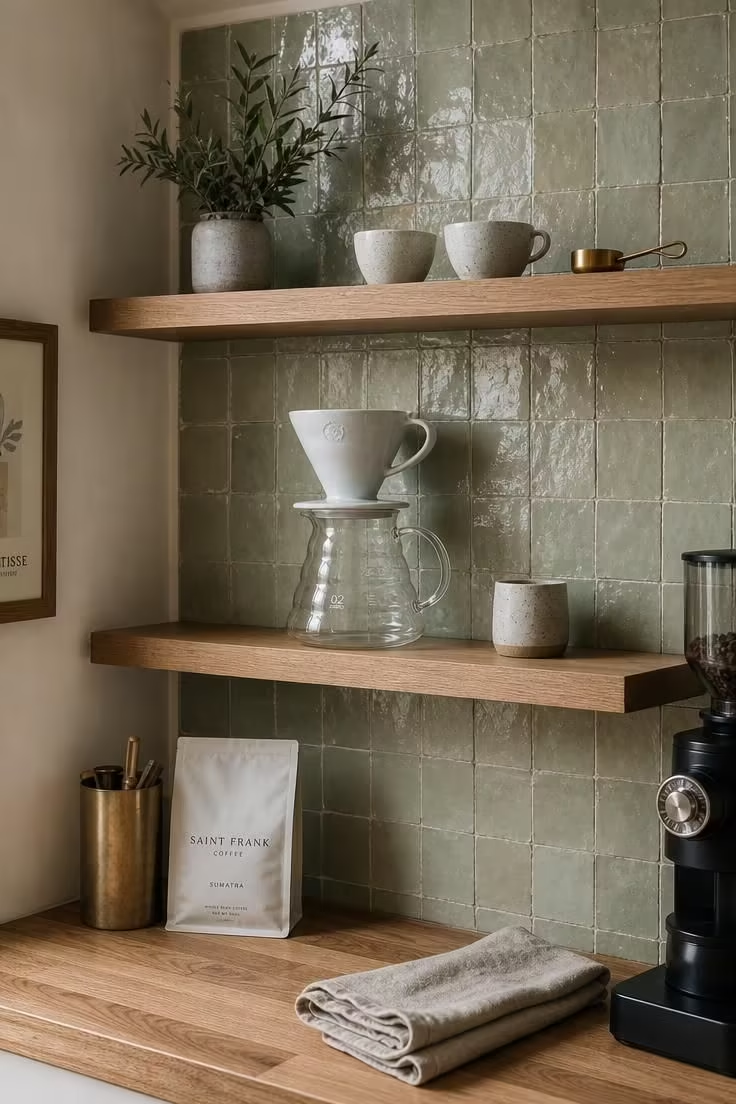
A coffee bar backsplash is not decorative filler behind the shelves.
It is the visual anchor that tells the eye where the station begins and the rest of the kitchen ends.
Without it, the coffee bar is just shelves on a painted wall, and the corner never fully separates from the room around it.
Zellige tile, with its handmade irregularity and slight sheen, reads warm and personal, a good match for a corner meant to feel like a morning ritual rather than a kitchen task.
Subway tile in a classic 3×6 format keeps the look clean and pairs with almost any shelf material, though the grout lines carry more visual weight than most people expect.
Penny round mosaics add texture and movement to a small wall area, which can work well when the shelves themselves are simple and flat.
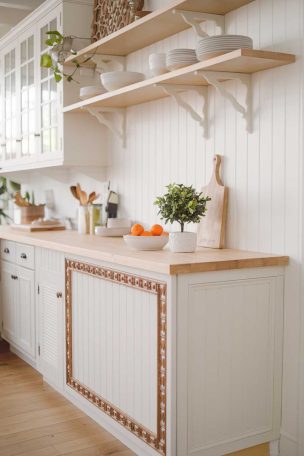
Non-tile options deserve consideration too: limewash plaster gives a soft, chalky depth that photographs beautifully, while beadboard adds cottage warmth without the cost of tile installation.
Whatever you choose, extend the backsplash from the countertop to at least the bottom edge of the highest shelf, because stopping it mid-wall looks like the installer ran out of material.
Grout color is the detail most people decide last but should decide first, since a white tile with charcoal grout reads completely different from the same tile with matching white grout.
Lighting the Corner So It Feels Warm Before Sunrise and Clean by Midday
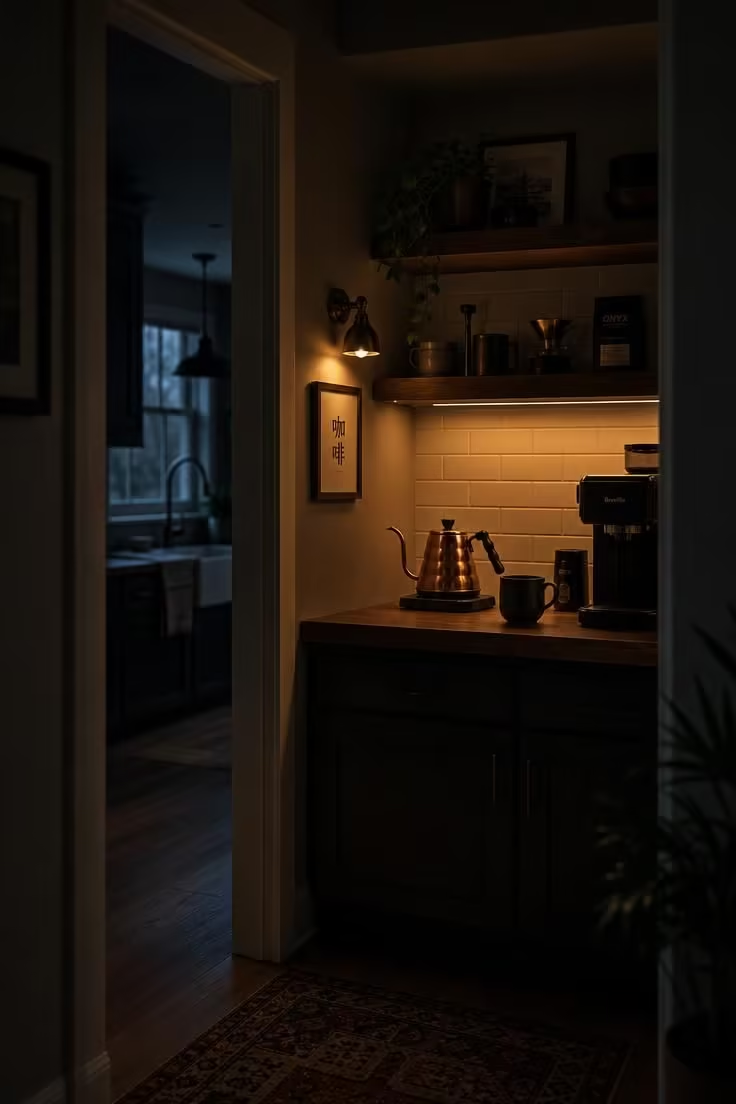
Most kitchen corners share the same lighting problem: a single overhead recessed can sits two or three feet away, casting a shadow exactly where your hands are working.
Coffee bar lighting needs to solve that shadow gap without adding a fixture that overwhelms a small corner.
Under-shelf LED strips are the simplest fix, and they work well because they mount to the underside of each floating shelf, directing light straight down onto the surface below.
A warm color temperature, somewhere around 2700K to 3000K, gives the corner a cafe-like glow that feels right at 6 AM when overhead kitchen lights are still too harsh.
Adding a single sconce or pendant beside the shelves creates a second layer that separates the station visually from the rest of the kitchen.
That layered approach, task light from below and ambient light from the side, is what makes a floating shelf coffee display feel like a destination rather than a countertop with a machine on it.
If you prefer a modern look, cooler LED tones around 4000K pair well with white shelving and light countertops, though they lose some of the warmth that makes a morning coffee station feel inviting.
A Shelf-by-Shelf Framework for What Goes Where
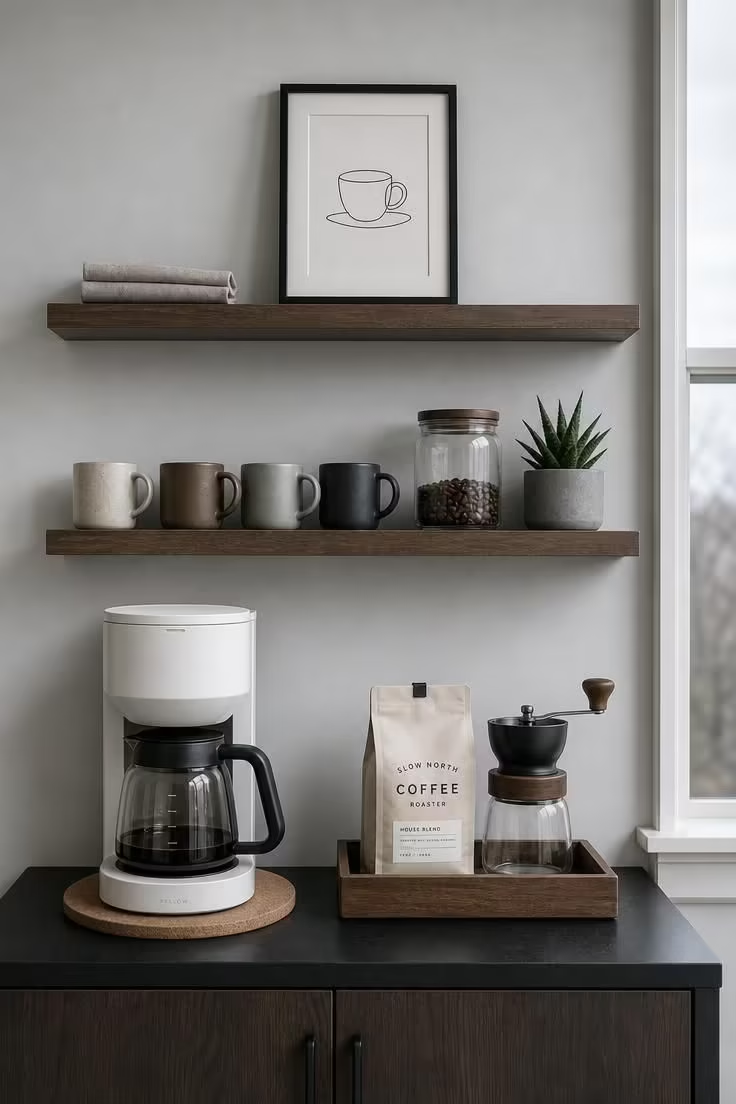
The bottom shelf, or the counter surface, is where the machine lives alongside a drip tray and the one tool you reach for first, whether that is a grinder, a kettle, or a tamper.
Keep this level tight and functional, with nothing that does not directly serve the act of making coffee.
A small tray beneath the machine catches drips and spills while also giving the setup a visual base that feels anchored.
The middle shelf holds the daily rotation: four to six mugs, a canister of beans, and one small organic element like a trailing plant or a sprig of dried eucalyptus.
More than six mugs starts to look crowded, and a coffee mug shelf works best when there is breathing room between each piece.
The top shelf is reserved for items you use weekly or less: a pour-over cone, backup filters, or a single decorative object that adds personality without competing with the functional layers below.
Negative space on the top shelf is the difference between a station that looks styled and one that looks stuffed.
The editing rule is simple: if you would not reach for it on a typical morning, it does not belong on the bottom two shelves.
Why the Kitchen Coffee Corner Is Having Its Moment Right Now
The “cafecore” movement is more than an Instagram hashtag.
It reflects a genuine shift in how people think about their kitchen coffee nook, from a spot where a machine sits to a space that carries emotional weight.
The post-pandemic years pushed daily rituals into the foreground, and making coffee at home became one of the rituals that stuck.
Architects and kitchen designers have responded: alcoves are making a comeback in new builds and remodels, with dedicated zones carved into floor plans for exactly this kind of styled station.
On Pinterest, styled coffee corners consistently rank among the most-saved images in the kitchen category, which signals that the demand is not slowing.
Design Pro-Tip: If your corner is narrower than 24 inches, mount a single shelf instead of stacking three. A single shelf with one carefully chosen object and your machine below it reads as intentional. Three crowded shelves in a narrow gap read as a storage problem you tried to decorate around.
The Editing Step Most People Skip
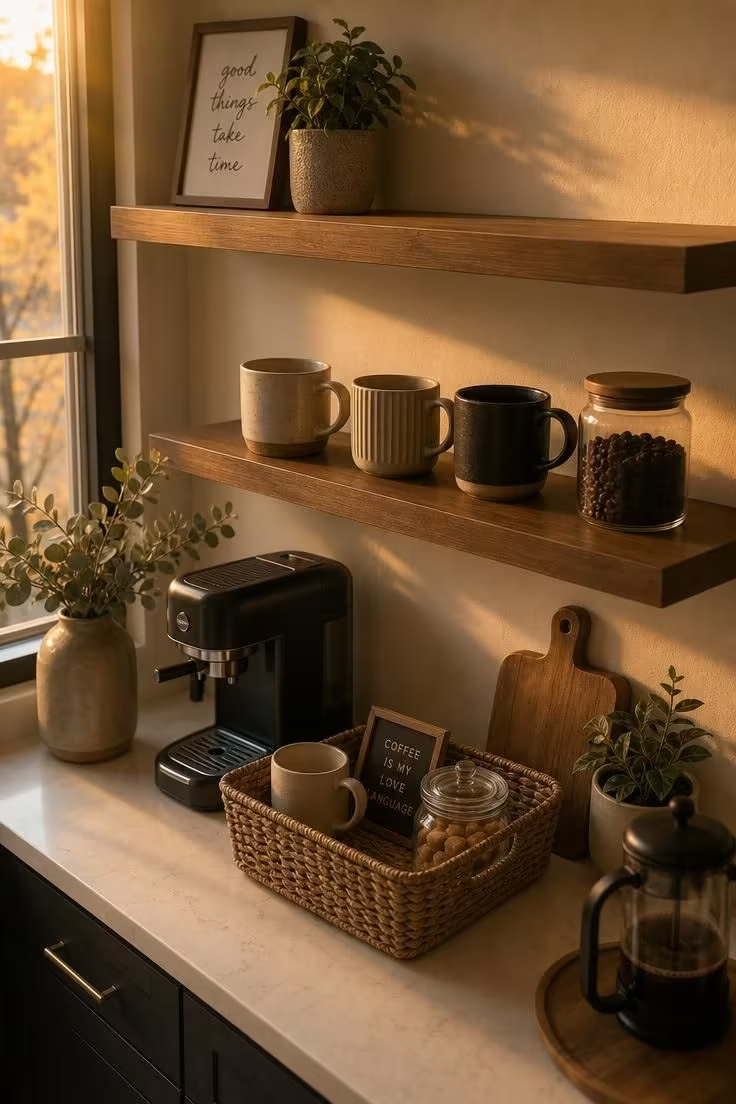
The most common failure with a coffee bar styling project is treating the shelves as overflow storage rather than a styled zone.
Everything fits on day one, but within a few weeks the shelves collect extra mugs, random jars, and that bag of specialty beans someone brought back from vacation.
The fix is a simple rule: one item in, one item out.
When a new mug arrives, an old one rotates to the cabinet.
Seasonal swaps keep the corner feeling fresh without a full redesign, so switching a ceramic vase for a small pumpkin in October, or trading a dark mug for a pastel one in spring, gives the station a sense of rhythm.
The takeaway that ties this whole article together is that the coffee bar works not because of what you add, but because of what you choose to leave off.
Conclusion
A coffee bar with floating shelves succeeds when every decision, from bracket placement to backsplash material to what sits on the top shelf, points toward the same idea: less clutter, more purpose.
Start by measuring your corner and your tallest appliance, then mount two or three shelves with brackets rated for the weight you plan to put on them.
Choose a backsplash that frames the station and a light source that makes the corner glow before the rest of the kitchen wakes up.
Stock the shelves with only what you reach for in a typical morning, and leave the rest in a cabinet.
The dead corner becomes the best spot not through decoration, but through the discipline of keeping it simple.