This post may contain affiliate links. If you make a booking or purchase through these links, we may earn a commission at no additional cost to you.
Most homeowners picture a sauna as something that belongs in a finished basement or a freestanding cabin in the backyard, never as something that fits alongside the vanity they use every morning.
That assumption is outdated.
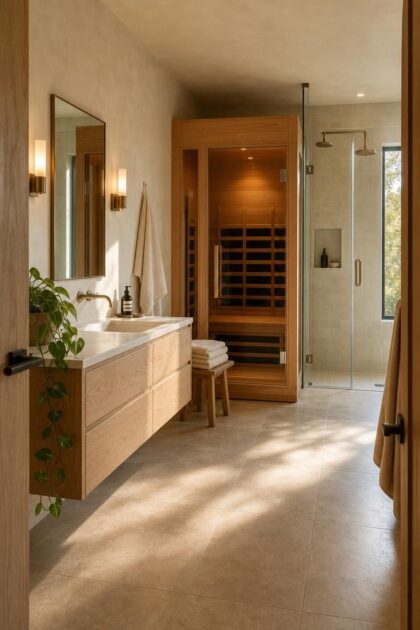
A well-planned bathroom with sauna layout can carve out a dedicated wellness zone inside a primary bathroom without sacrificing the shower, the counter space, or the daily routine that keeps the room functional.
The real question is not whether it can be done but which planning decisions separate a layout that works from one that wastes square footage and money.
The Numbers That Explain the Bathroom Sauna Surge
The NKBA’s 2026 Bath Trends Report surveyed nearly 700 industry professionals, and the headline finding is hard to ignore.
Seventy-two percent of respondents expect bathroom footprints to grow specifically to make room for wellness-centered spaces.
Space allocation in the primary bath ranked as a top priority for 89 percent of those surveyed.
More than half of respondents, 55%, said that enlarging the shower is more important to clients than including a bathtub, because a larger shower creates room for spa-like features such as steam options, saunas, aromatherapy, and integrated seating.
Bill Darcy, Global President and CEO of NKBA, put it plainly: bath design is becoming deeply personal, and designers are now focused on how spaces support individual rituals and self-care routines.
That shift explains why a bathroom with sauna layout is no longer a fringe renovation but a pattern showing up in remodel after remodel across the country.
Seventy-seven percent of the same respondents said homeowners are modeling their primary bathrooms after the wellness experiences they encounter at hotels and resorts, turning a nightly shower into something closer to a spa-like bathroom ritual.
Infrared vs. Traditional: Which Sauna Type Fits a Small Bathroom
The first decision in any bathroom with sauna layout is choosing between infrared and traditional heat, and the two are more different than most homeowners realize.
A traditional sauna heats the air inside the cabin to roughly 180 degrees Fahrenheit or higher, using an electric or wood-fired stove with heated rocks.
That high air temperature demands serious insulation, a ceiling height of at least 7 feet for proper heat layering, strong ventilation, and often a 240-volt dedicated circuit on its own breaker.
An infrared sauna bathroom operates on a completely different principle, using infrared panels that heat the body directly at a much lower ambient temperature, typically between 120 and 150 degrees Fahrenheit.
Because infrared units produce less moisture and lower overall heat, they need smaller footprints, shorter ceiling clearances, and in many cases run on a standard 120-volt, 20-amp household circuit.
For a compact bathroom where every square foot matters, that difference in infrastructure is the deciding factor.
Hybrid saunas, which combine infrared panels with a traditional heater or add red light therapy panels into the cabin, offer a middle ground but require more complex electrical planning and careful heater placement in tight rooms.
The decision framework is straightforward: measure your ceiling height, check your electrical panel capacity, and assess how much moisture your bathroom ventilation requirements can handle before committing to a type.
Design Pro-Tip: If your bathroom ceiling height falls below 7 feet, an infrared sauna cabin is your most practical option, since traditional saunas need the extra vertical space for proper heat layering between bench and ceiling.
Three Layout Strategies That Protect Your Shower and Vanity Space
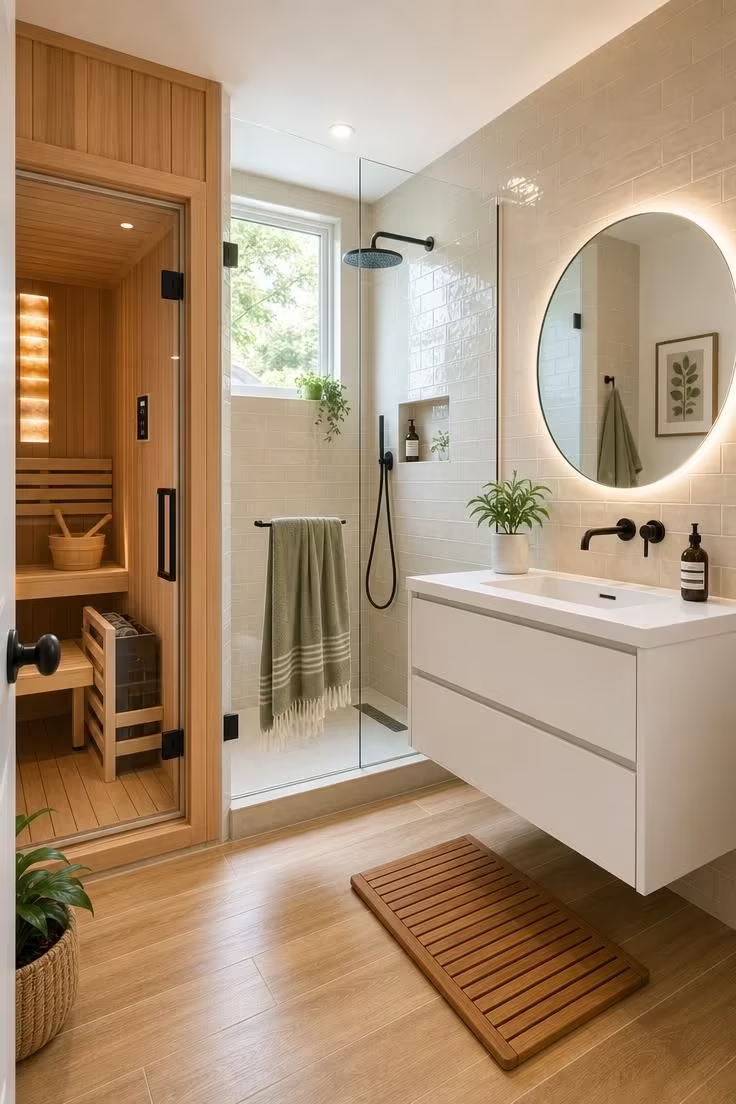
Three primary layout strategies work well in smaller bathrooms, and each one protects the fixtures you use every day.
Corner unit placement tucks a compact sauna cabin, typically 4 feet by 4 feet or 4 feet by 6 feet, into an underused corner of the room, keeping the center floor open for movement between the door, the vanity, and the shower.
Wall-aligned installation runs the sauna along one wall, which works best in rectangular bathrooms where a clear diagonal path from the entry to the vanity needs to stay unobstructed.
The third option replaces an existing bathtub with a sauna zone, repurposing a footprint that already has plumbing access and floor drainage in place.
Whichever strategy you choose, maintaining a clear circulation path matters more than the sauna’s exact position, because a layout that forces you to squeeze past the sauna door every time you reach the sink will feel cramped within a week.
The bathroom floor plan should allow at least 24 inches of clearance between the sauna cabin and any adjacent fixture, and the sauna door must swing outward to meet safety codes and avoid blocking the interior bench.
Ventilation and Electrical Planning You Cannot Skip
Ventilation is the part of a bathroom with sauna layout that homeowners underestimate most, and getting it wrong leads to mold, stale air, and structural damage behind the walls.
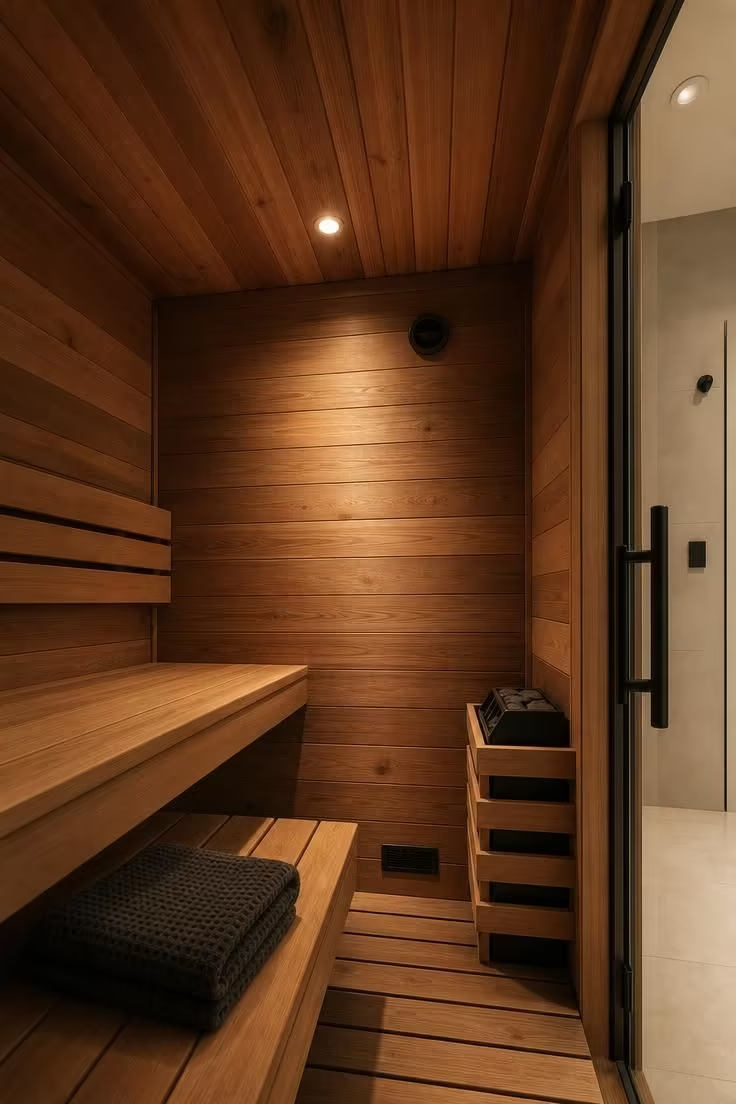
Every sauna installation needs at least two vents: a fresh air intake positioned near the floor, typically near or beneath the heater, and an exhaust vent on the opposite wall near the ceiling.
The International Residential Code requires a ventilation opening of at least 4 by 8 inches near the top of the sauna door, and most building departments also require mechanical exhaust capacity of 50 to 80 cubic feet per minute.
Behind the sauna walls, a foil-faced vapor barrier is non-negotiable, because without it, hot moisture migrates into the wall cavity and creates conditions for rot and mold growth that stay hidden until serious damage has already occurred.
On the electrical side, the sauna electrical circuit requirements depend entirely on the type and size of the unit you choose.
A small one-to-two-person infrared cabin may run on a 120-volt, 15-to-20-amp dedicated circuit, while a larger traditional sauna typically needs a 240-volt, 30-to-40-amp hardwired connection with a disconnect switch within sight of the unit.
All wiring must be rated for high-temperature environments, and GFCI protection is required anywhere the sauna electrical circuit sits near water sources.
Most jurisdictions require both a building permit and an electrical permit for this type of installation, and a licensed electrician is the only professional who should handle the wiring.
After every session, running the exhaust fan for 20 to 30 minutes and leaving the sauna door open to air-dry the interior extends the life of the wood and prevents moisture from settling into the cabin joints.
The Wet Room Approach That Merges Sauna, Shower, and Open Floor
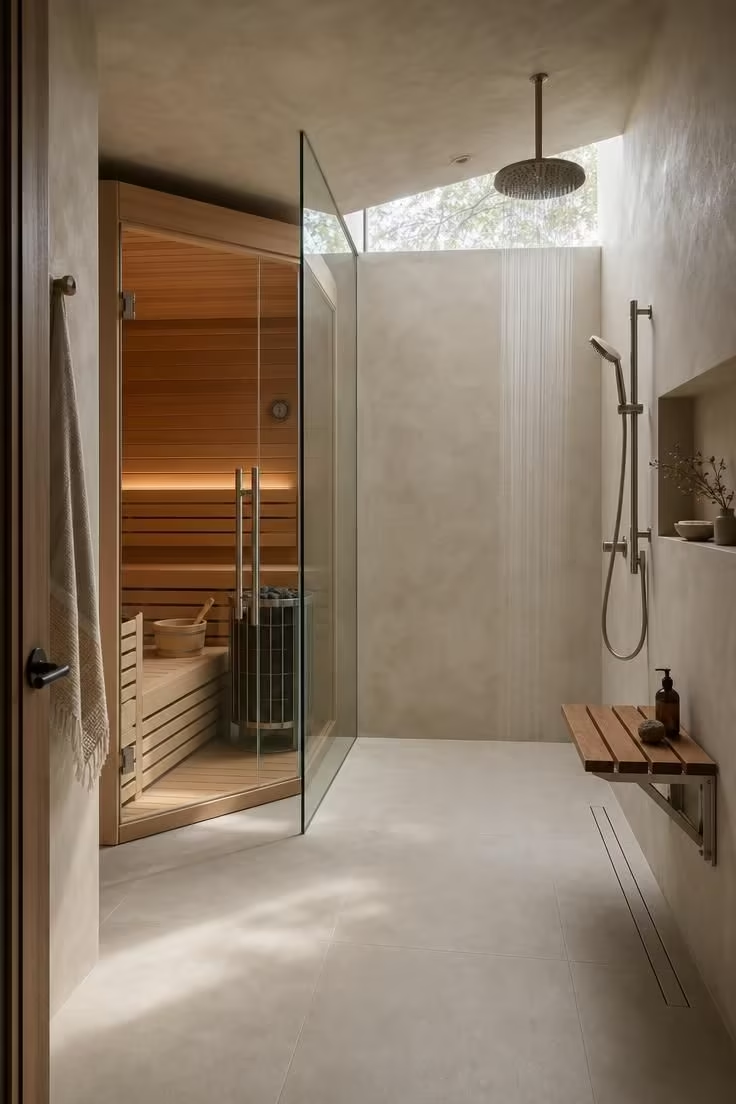
The most integrated version of a bathroom with sauna layout eliminates the boundary between sauna, shower, and open floor entirely.
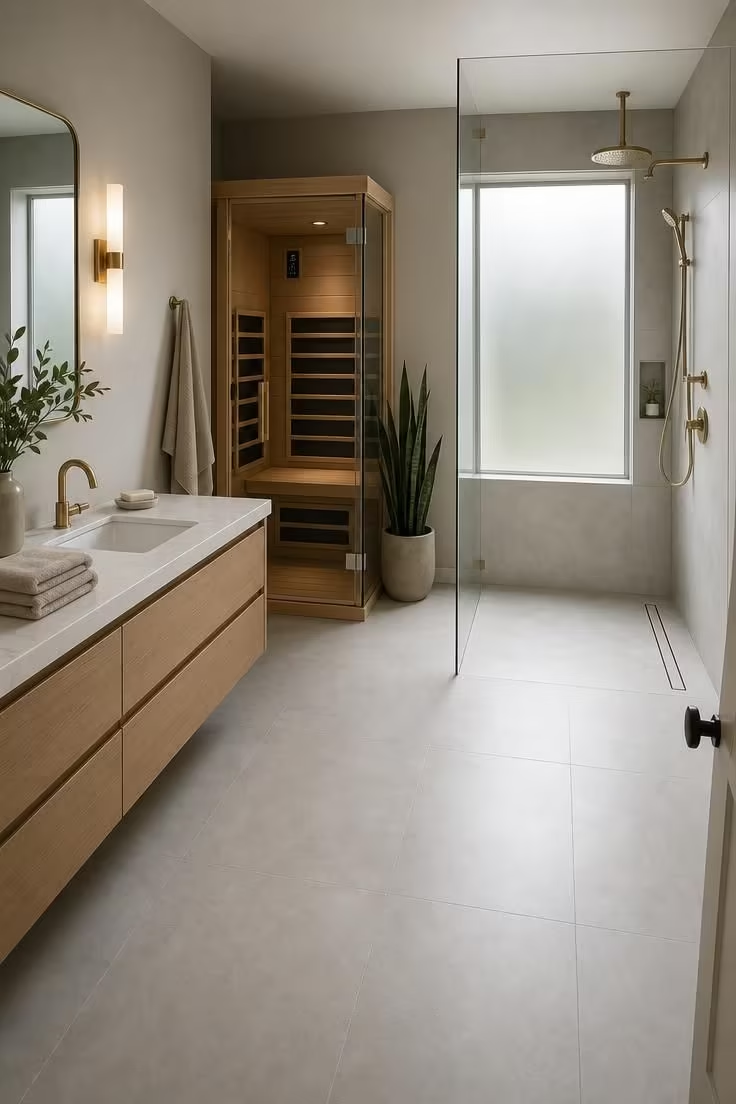
In a wet room sauna integration, the entire zone shares a single waterproof membrane, and the floor tile runs continuously from the dry vanity area through the shower and right up to the sauna cabin, interrupted only by a linear drain.
A glass partition sauna setup, using a single floor-to-ceiling tempered glass panel, separates the heated cabin from the shower area while keeping the room visually open and connected.
This layout removes the cold walk between sauna and rinse, which is closer to how saunas are used in Finnish tradition, where stepping from heat directly into a cool shower is part of the ritual.
Waterproofing becomes simpler under this approach because the entire wet zone is treated as a single membrane area, and the same drainage system serves both the shower and any condensation that escapes the sauna enclosure.
The trade-off is cost: a full wet room conversion requires precision grading of the subfloor, professional waterproofing, and enough floor space to accommodate both the sauna cabin and a comfortable shower zone side by side.
This approach works best in primary bathrooms with at least 45 square feet dedicated to the wet zone, and it struggles in narrow galley-style layouts where the sauna and shower would end up competing for the same wall.
Design Pro-Tip: Positioning the sauna directly adjacent to the shower with a single glass partition between them lets you rinse the moment you step out, which replicates the Finnish sauna tradition and reduces moisture spreading across the rest of the bathroom.
Why Hotel-Level Wellness Moved Into the Primary Bathroom
The wellness bathroom remodel used to be something reserved for high-end custom homes with unlimited budgets and spare rooms to convert.
That changed when compact infrared cabins dropped in both price and footprint, making it possible to fit a functional sauna into the same space that used to hold a bathtub nobody actually used.
At the same time, sauna design itself shifted away from the rustic wooden box toward something more architectural: glass-forward facades, matte black aluminum frames, integrated LED strip lighting, and app-controlled session timers that adjust temperature and duration from a phone.
Multi-therapy integration is another accelerant, with newer units combining infrared heat, red light therapy panels, and chromotherapy lighting in a single compact cabin that takes up no more room than a traditional one.
The NKBA data confirms the cultural pull: 77 percent of industry respondents said homeowners are now designing their primary bathrooms to match the wellness experiences they have at hotels and resorts.
Lighting systems that shift with mood and time of day are appearing in wellness-focused bathroom designs alongside smart showers with preset temperature and spray preferences. (National Kitchen & Bath Association, 2026)
The practical barrier, which was always electrical and spatial complexity, has dropped enough that a one-person infrared sauna bathroom can be installed during a standard bathroom remodel without tearing into the subfloor or upgrading the electrical panel.
This is no longer a niche upgrade for homes with extra square footage to burn.
What to Measure Before You Commit to a Bathroom Floor Plan With Sauna
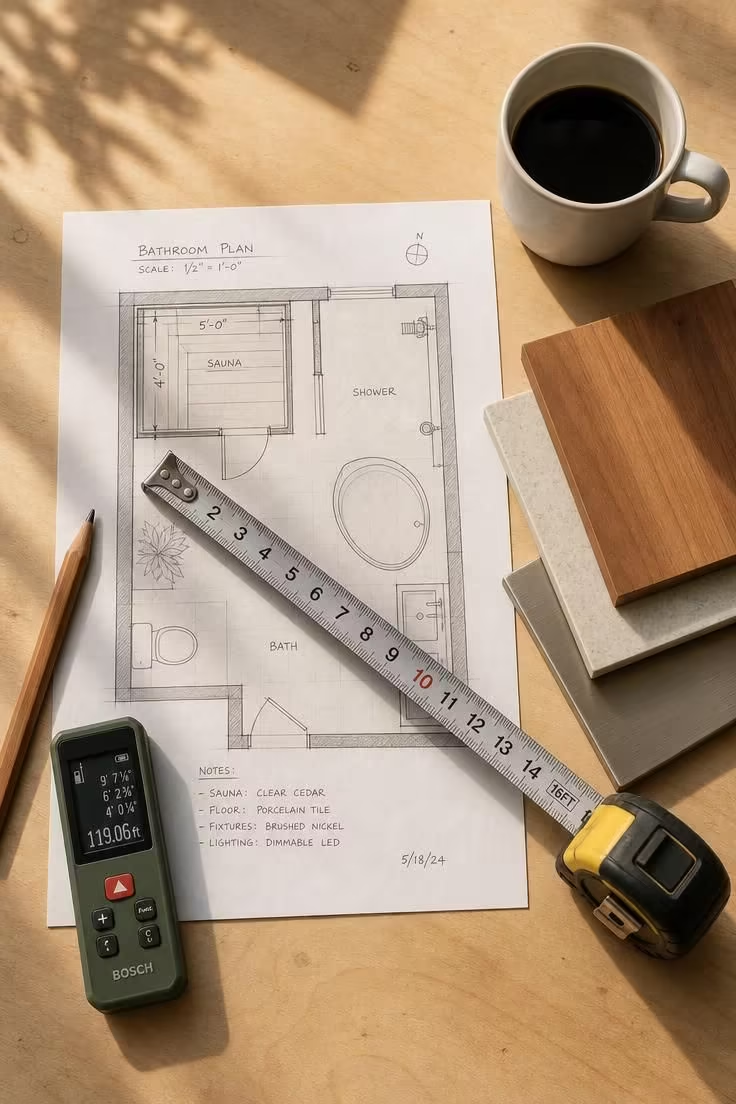
Before choosing a sauna, measure the available floor area, ceiling height, door swing, walking space, and clearances around existing bathroom fixtures.
Do not use a generic minimum cabin size or electrical requirement as a substitute for the specifications of the sauna you intend to install.
Sauna dimensions, required clearances, ventilation, power demand, circuit requirements, and installation conditions vary by model and manufacturer.
Compare the proposed layout with the manufacturer’s installation instructions, applicable electrical and building requirements, and the existing capacity of your electrical system.
For a permanently installed electric sauna or any project requiring new wiring, have a qualified electrician determine what circuit and panel work is appropriate.
A bathroom renovation can also trigger accessibility, ventilation, waterproofing, and clearance requirements depending on the jurisdiction and scope of work, so confirm local requirements before construction begins.
Conclusion
A bathroom with sauna layout is not a fantasy project that requires a mansion-sized primary suite or a six-figure renovation budget.
It is a specific set of planning decisions, choosing between infrared and traditional heat, selecting a corner, wall-aligned, or tub-replacement layout, and addressing ventilation and electrical needs before the first piece of cedar goes up.
Start by measuring your room dimensions, ceiling height, and electrical panel capacity, then match those numbers to the sauna type and layout strategy that fits, because the planning stage is where this kind of wellness bathroom remodel either succeeds or falls apart.