This post may contain affiliate links. If you make a purchase through these links, we may earn a commission at no additional cost to you.
Most tiny house bathroom plans begin with the shower, and that instinct is reasonable.
The shower consumes the most floor area and shapes everything around it.
The harder question is how much of the room should get wet at all.
Separation, not square footage, decides whether a small bathroom supports a morning routine or fights it.
This guide works through the major layout families, comparing what each one asks of your storage, your door, and your daily habits.
What a Wet Bath Actually Changes About the Room
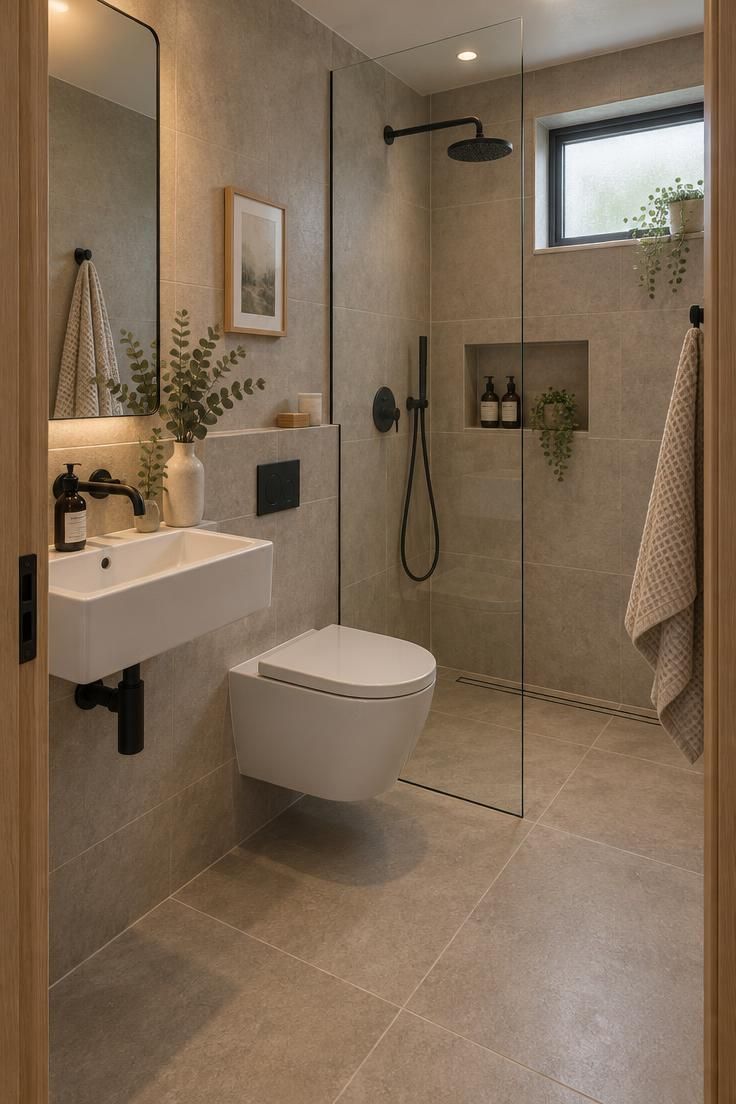
A wet bath removes the separate shower enclosure and treats the whole room as the shower zone.
The floor drains as one surface, so there is no tray to step into and no door to swing past the toilet.
That single decision ripples through everything else.
A wet bath tiny house arrangement can be smaller than a conventional three-piece room because the fixtures overlap in space rather than sitting side by side.
The tradeoff is routine.
Towels, toilet paper, and anything electrical need a dry home, which usually means sealed cabinets, wall niches, or hooks placed high and away from the spray.
Cleaning shifts from wiping a shower to drying an entire room.
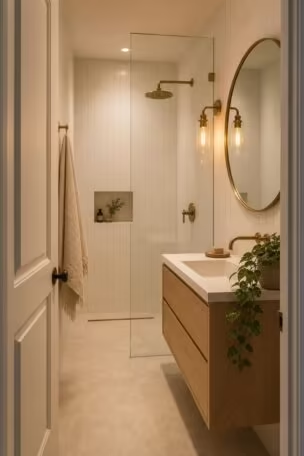
A fixed glass screen, a partial-height divider, or a ceiling-mounted curtain can hold splash to one end if a fully open wet room feels impractical for daily use.
Each option keeps the floor continuous while interrupting the water’s path.
For one occupant who showers once a day, that maintenance rhythm is manageable.
For two people showering at different times, a wet bath keeps the room damp through both routines, and the second person arrives to a wet floor.
Design Pro-Tip: Hang a temporary shower curtain on a tension rod and live with a wet-bath arrangement for a week before committing to the layout.
Corner Shower Layouts That Preserve a Dry Toilet Zone
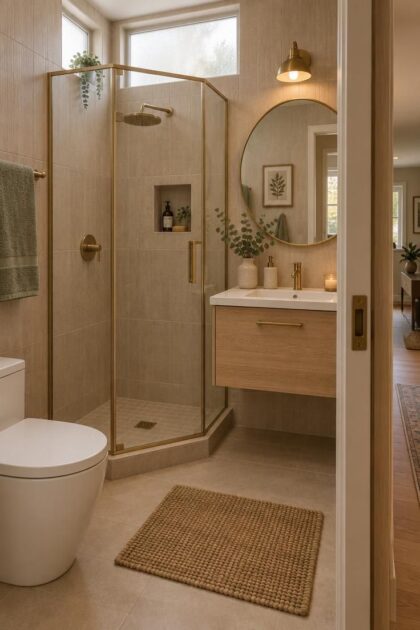
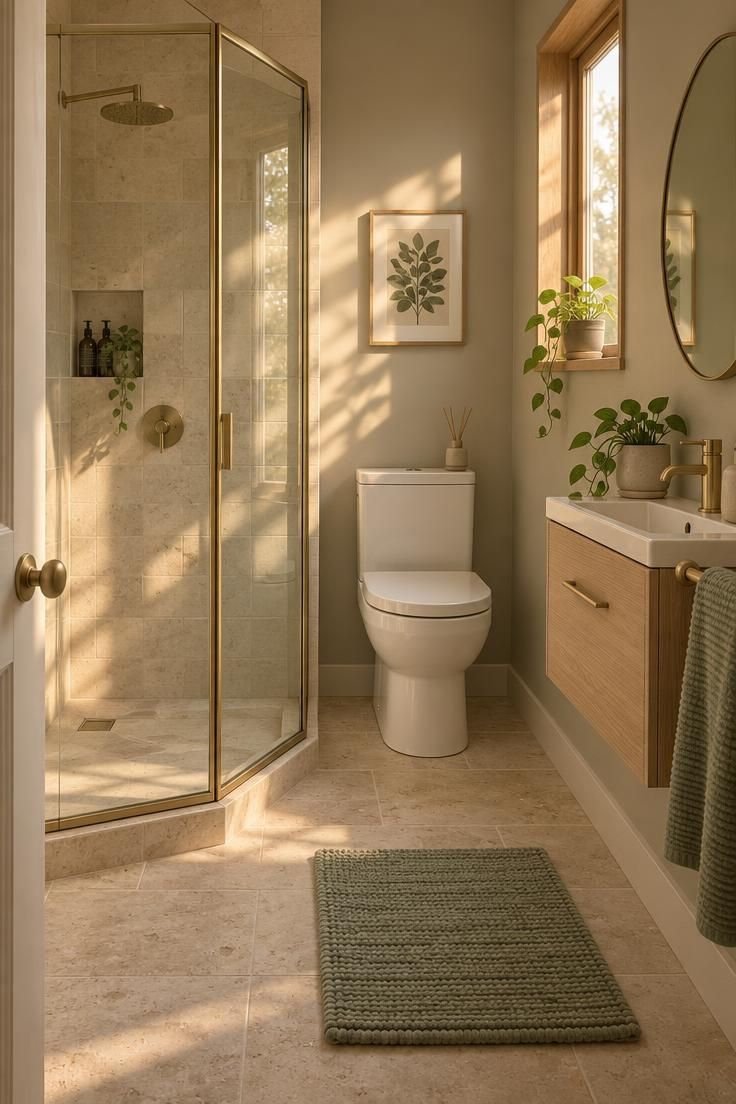
Moving the shower into a corner creates a dry wall for the toilet and vanity, and that separation is what makes this arrangement comfortable for full-time living rather than occasional use.
Size is the first real decision.
A 24-by-36-inch corner shower is compact, while 30-by-48 inches feels considerably more comfortable.
Treat both as planning targets to compare, not as rules, and weigh them against how often the bathroom gets used.
The corner position also concentrates the plumbing against two walls, which leaves the opposite wall free for a vanity and the floor free of a shower tray crossing the walking path.
Door coordination is where corner shower layout ideas succeed or fail.
A hinged shower door that swings outward can collide with a toilet or block the entrance, so pocket doors and outswing doors pair naturally with this arrangement.
A toilet placed beside the shower rather than directly across from it keeps the approach clear and lets the vanity take the remaining wall.
This works especially well for a single full-time occupant who wants a dry floor every morning.
Compact Vanity Storage That Works Without Bulky Cabinets
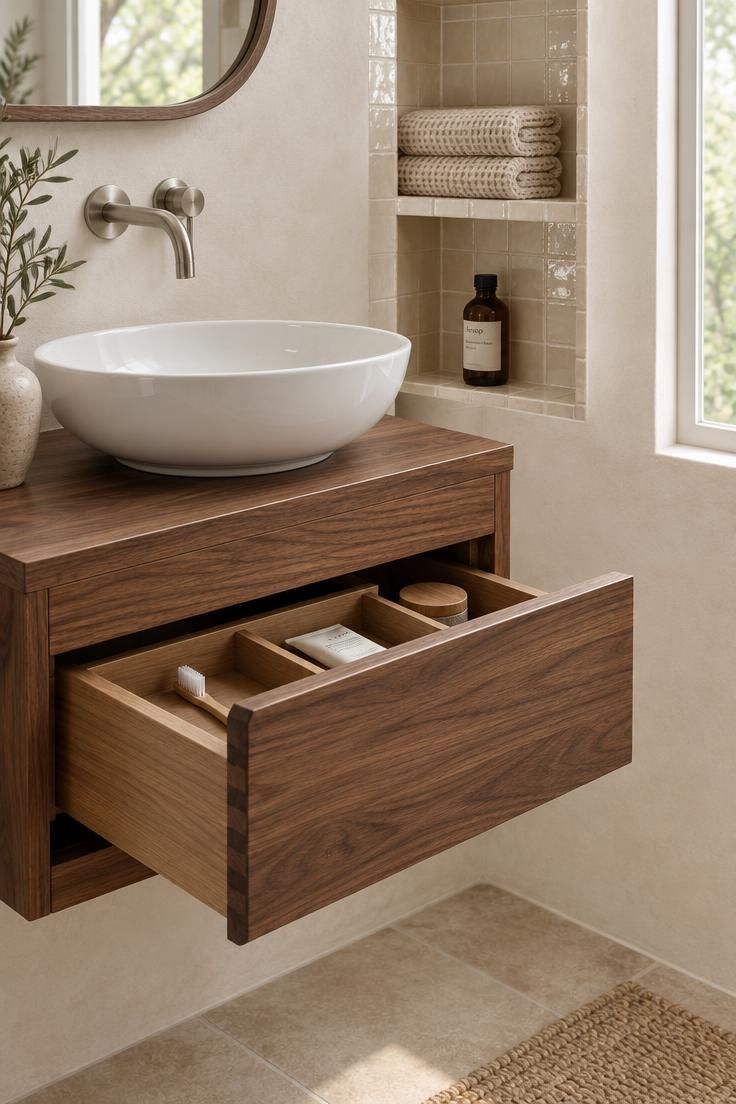
A 16-to-18-inch vanity sounds too small to be useful until you decide what actually belongs inside it.
Most daily grooming items fit in a single drawer with a shallow organizer.
The priority order matters more than the cabinet size.
Keep daily-use items within arm’s reach, then towels and toilet paper, then cleaning supplies, then hair tools and occasional backups that can live further away.
Drawers outperform doors in a small vanity because they pull their contents into view instead of hiding them behind a panel.
You can see the whole drawer at once rather than reaching into a dark cabinet.
Recessed medicine cabinets, shower niches, and toe-kick drawers move storage into the walls and floor rather than the floor plan.
A wall-mounted sink takes this furthest by leaving the floor beneath it visibly open.
These compact vanity storage solutions work best as a system rather than a single piece.
A shallow drawer for the toothbrush and razor, a recessed niche for shampoo, and a slim tall cabinet for linens together hold what one cabinet cannot.
Pocket Door Bathroom Privacy Without Losing Square Footage
A conventional inswing door needs a clear arc of about its own width, and in a tiny bathroom that arc often lands on the toilet or the shower door.
Removing the swing frees that floor space for actual use.
A pocket door slides into the wall cavity, which means the doorway opening never competes with a fixture.
Pocket door bathroom privacy holds up because the door still closes fully and latches, so the room functions like any other bathroom when occupied.
The arrangement suits both linear and corner shower layouts.
In a linear bathroom, the door slides into the wall beside the entry, and in a corner layout it keeps the approach to the toilet clear.
The tradeoff is wall space.
The cavity the door occupies cannot also hold plumbing or electrical runs, so the wall you choose for the pocket matters and should be coordinated with the plumbing wall and lighting plan early.
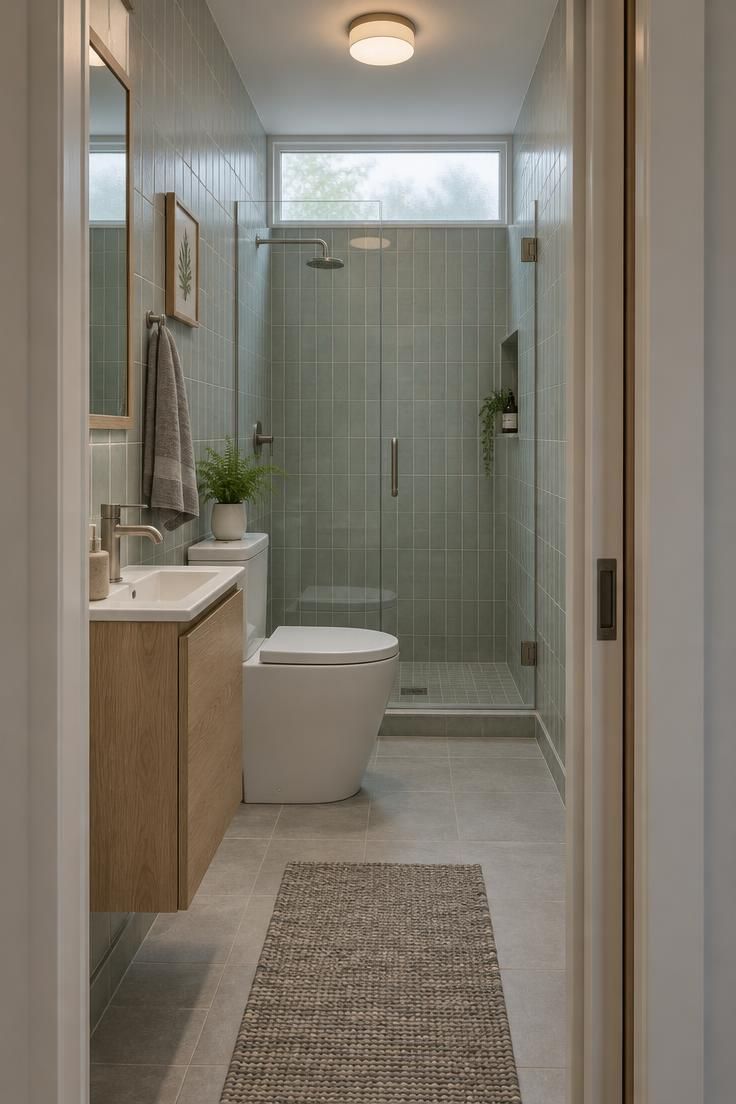
Accessible Bathroom Features That Make Sense From the Start
Planning a tiny house bathroom layout for mobility early costs far less than retrofitting later, and the features involved rarely read as institutional when chosen with care.
A curbless or low-threshold shower entry removes the step that becomes a trip risk over time.
A handheld showerhead on a vertical bar serves seated and standing users equally and makes cleaning the shower easier.
Blocking installed inside the walls during construction allows grab bars to be added later without opening finished surfaces.
A fold-down teak seat gives a place to sit without occupying floor space when folded up.
Lever-style controls work with a closed fist or an elbow, which helps anyone carrying something into the shower.
A clear approach to the toilet and shower keeps the room usable for someone with a walker or a wheelchair.
These accessible bathroom features align with current residential bath design rather than announcing themselves as medical equipment.
Matte finishes, warm tile, and a well-placed mirror make the room look like any other considered bathroom.
Design Pro-Tip: Choose a handheld showerhead on a slide bar rather than a fixed head, so the spray height adjusts for seated use, standing use, and rinsing the walls.
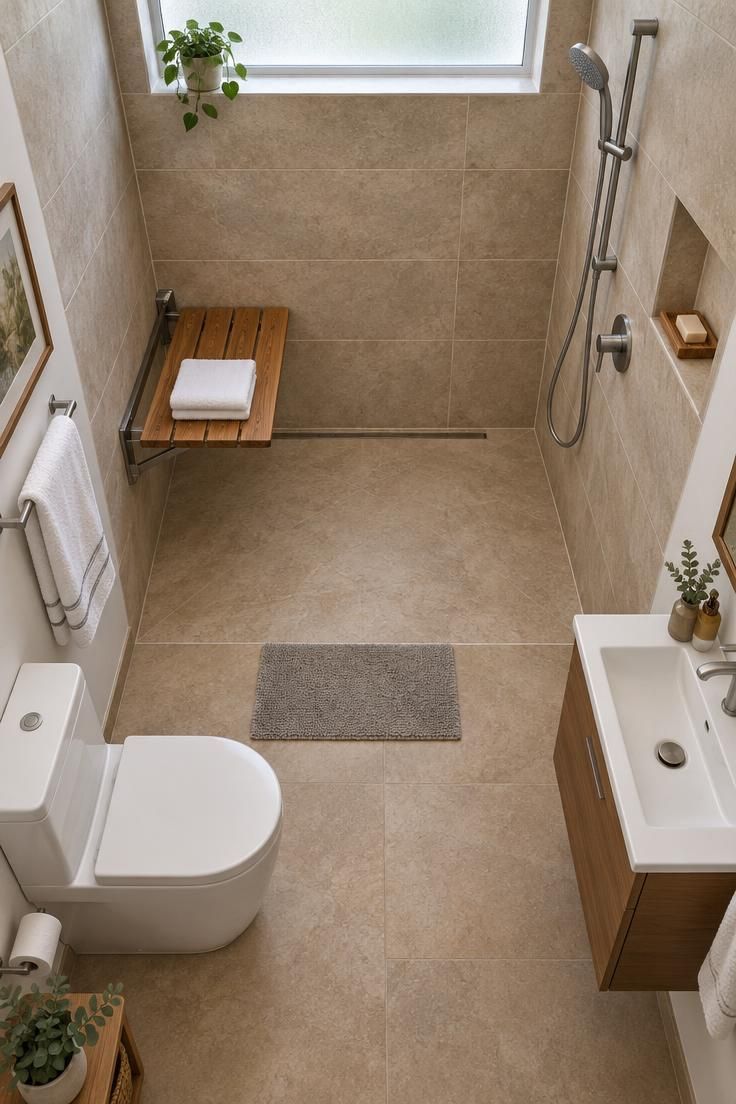
Split Bathroom: Moving the Sink Out of the Wet Zone
A split bathroom pulls the vanity out of the enclosed room and places it in a hallway or bedroom alcove, leaving the toilet and shower behind a closed door.
The advantage is scheduling.
One person can brush teeth or apply makeup at the open vanity while another showers behind the door, which matters most for couples sharing a small home.
The cost is circulation space.
A split layout needs a spot for the vanity outside the wet room, and that alcove has to come from somewhere, so this arrangement suits slightly longer tiny homes rather than the shortest footprints.
Ventilation and visual privacy both need thought.
An open vanity zone sits in view of the bedroom or living area, so the mirror, lighting, and stored items become part of that room’s appearance.
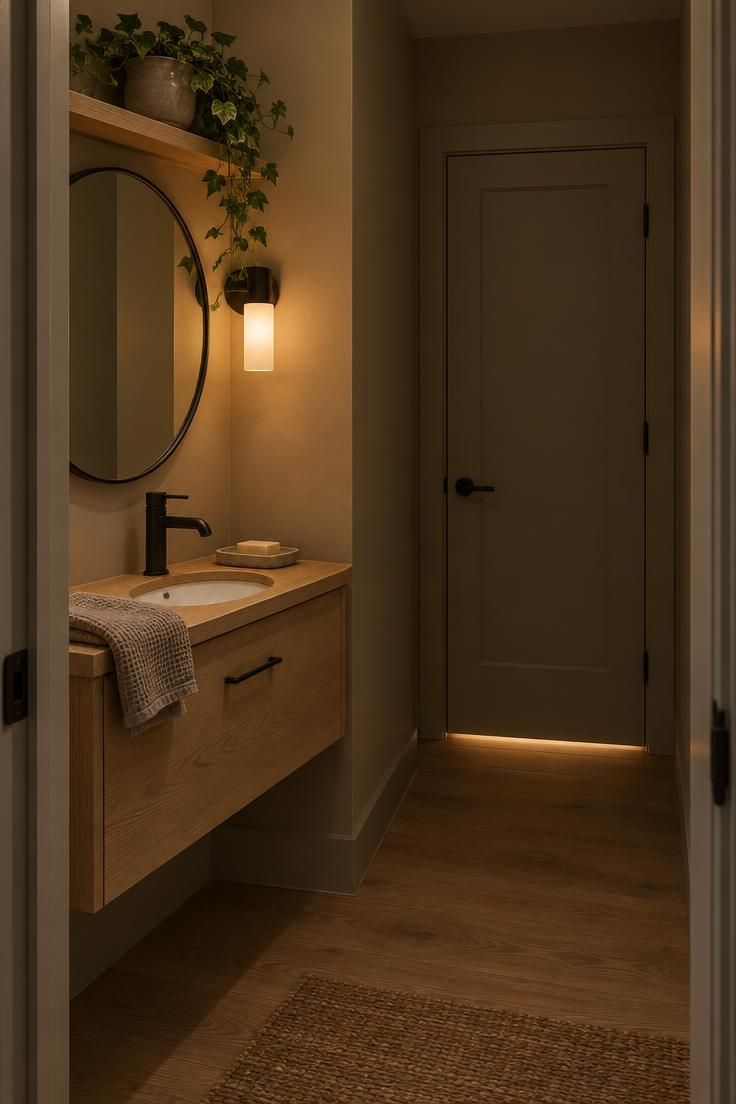
Why Linear Layouts Still Win for Narrow Tiny Houses
A linear or galley bathroom lines the fixtures along one wall, which suits the narrow proportions many tiny homes already have.
The shower sits at the far end, the toilet in the middle, and the vanity near the door.
A rough footprint of 3 by 7 feet to 4 by 8 feet frames the arrangement, though the exact size follows the fixtures you choose.
The narrow width is the point: nothing crosses the room, so the walking path stays straight.
Plumbing concentrates on that one wall, which keeps supply and drain runs grouped rather than scattered across the floor plan.
This is the same logic that makes a bathroom next to the kitchen efficient.
The corridor feel is the honest downside.
A linear bathroom never offers a wide, open center, and the sense of a passage rather than a room is simply part of how it works.
Because the fixtures line up in a single run, a pocket door or an outswing door at the entry is usually the better choice.
An inswing door would open directly into the vanity or the toilet and block the only path through the room.
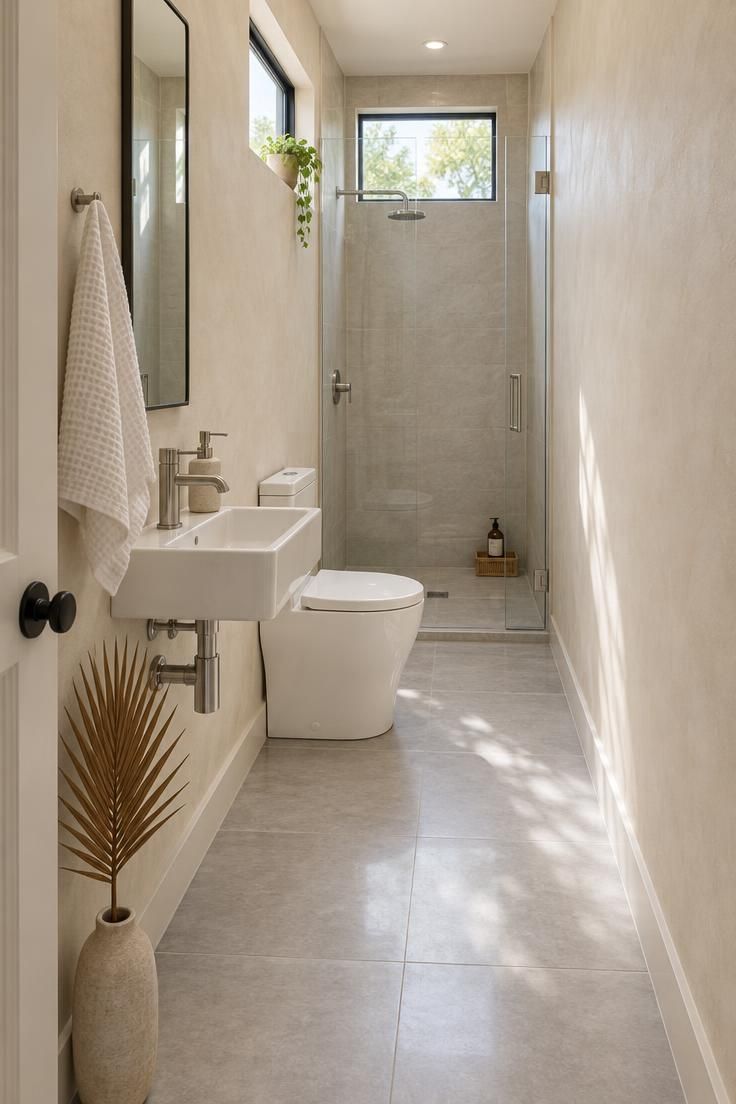
Side-by-Side Hotel Bathrooms: Familiar and Functional
The side-by-side arrangement puts the shower and sink along one wall and the toilet opposite, creating a small open floor in the middle.
This is the layout most people already know from everyday homes.
A starting size of about 5 by 7 feet gives the arrangement room to breathe, though that is a planning frame rather than a rule.
The separate walls keep the wet shower zone away from the toilet and vanity.
Familiarity is a genuine benefit.
Anyone who steps into this bathroom already knows where everything is, and the arrangement needs no explanation for guests.
The cost is floor area.
A side-by-side layout uses more space than a wet bath, so it fits longer tiny homes better than the shortest footprints where every inch counts.
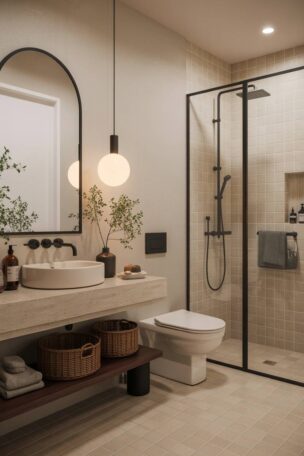
Design Pro-Tip: Choose a fixed glass shower screen instead of a hinged door in this layout, so no panel swings into the central floor area.
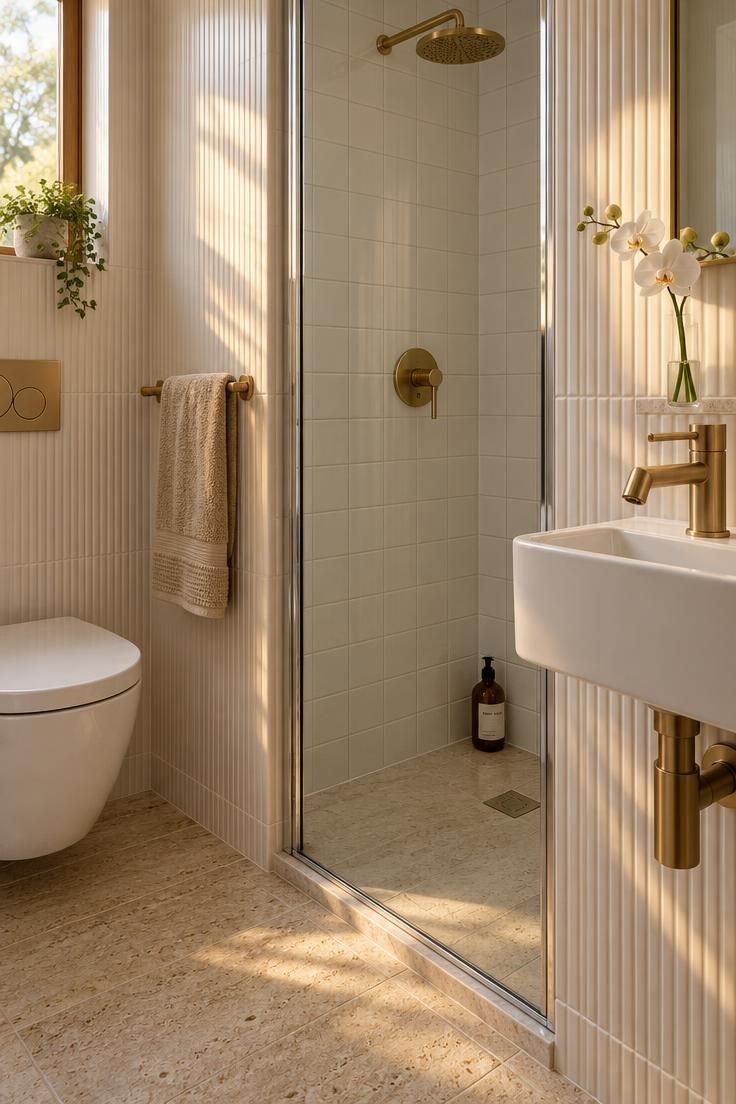
The Plumbing Wall: Where Concentration Cuts Cost and Noise
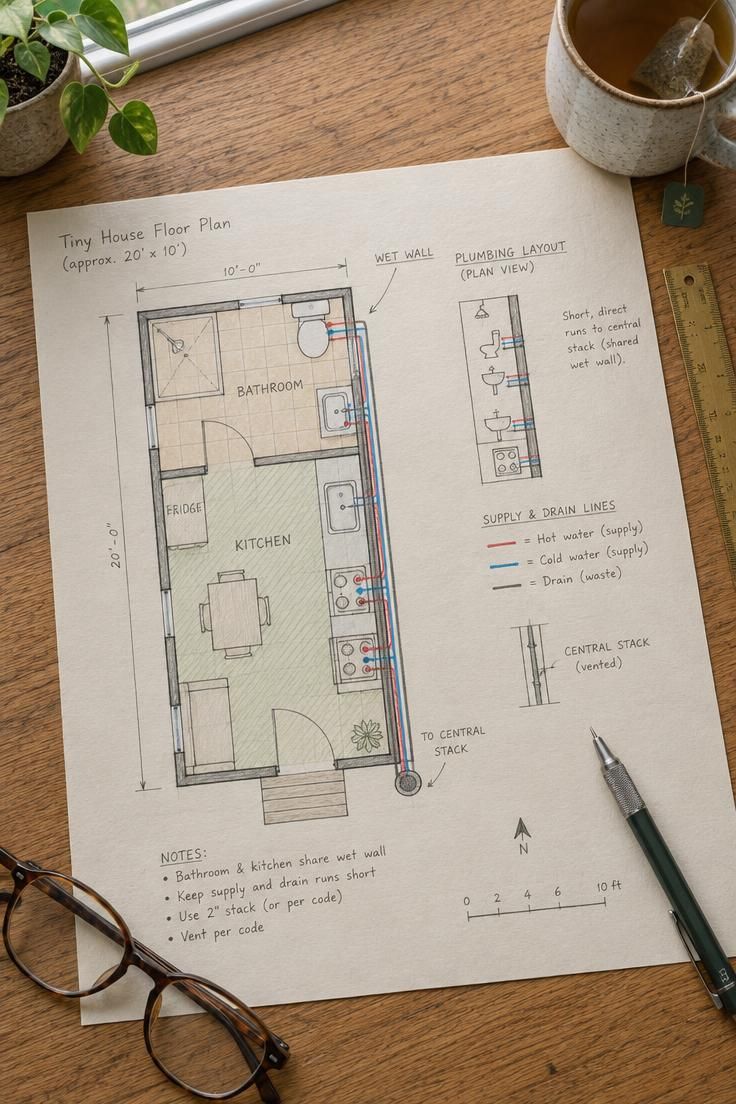
Placing the bathroom beside the kitchen so both share a plumbing wall is one of the oldest space-planning moves in small homes, and it still holds up.
Short, straight drain runs use less material and leave fewer places for a future problem to hide.
When the bathroom sits near the main drain stack, the plumbing behind the walls stays simple rather than snaking across the floor plan.
Access for maintenance deserves early attention.
Valves, traps, and cleanouts should remain reachable rather than sealed behind permanent cabinetry, because a tiny house offers few alternate routes to a hidden connection.
Coordinating the shower drain with the floor framing before the layout is fixed avoids moving walls later.
This is the kind of decision that shapes the room as much as fixture size does.
The upstream placement also affects the hot-water run.
A bathroom near the water heater reaches warm water faster, which matters in a small home where the shower is steps from the kitchen.
Materials That Make a Small Bathroom Feel Larger
Material choices reduce visual clutter in a small bathroom by lowering the number of interruptions the eye has to process.
Fewer grout lines and one continuous floor do more for a compact room than any single finish.
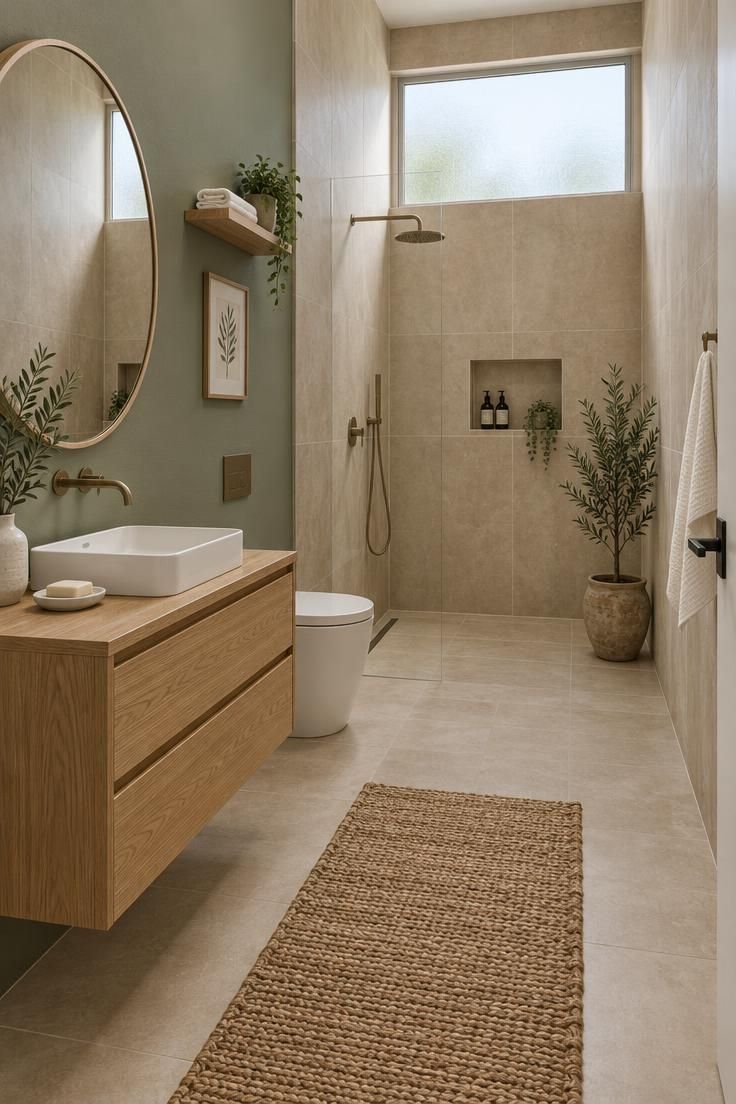
Large-format wall tile settles this quickly, since bigger tiles mean fewer joints crossing the walls.
A consistent floor surface that continues from the main room into the shower keeps the floor line unbroken.
Warm neutrals form a dependable base: off-white, warm white, sand, light tan, mushroom, pale greige, and soft beige all read quietly.
Sage, olive, muted clay, and dusty blue work as accents without competing for attention.
One textured or patterned feature wall is usually enough.
A single sage green wall behind a floating vanity gives the room a focal point while the other surfaces stay calm.
The layout should guide the material plan.
A wet bath needs full waterproofing across the whole floor and walls, while a dry corner shower can use a different floor treatment outside the shower zone.
Conclusion
Three decisions shape a tiny house bathroom more than any fixture choice: how much of the room gets wet, where the door moves, and how the vanity and toilet relate to the shower zone.
A wet bath saves floor space but asks for a different storage and cleaning routine.
A corner shower keeps a dry toilet area and suits full-time living.
Split baths and linear layouts follow the hallway and plumbing wall that the rest of the home already dictates, while accessible features belong in the original plan rather than a later retrofit.
Start with the shower.
Decide whether it stands alone or shares the room, then protect the dry zone with a door strategy that does not eat floor space, and let storage follow what you actually reach for each morning.
The first thing to try: walk your proposed footprint with a tape measure and a piece of chalk, marking the shower, toilet, and vanity, then live with those marks for a day before ordering anything.