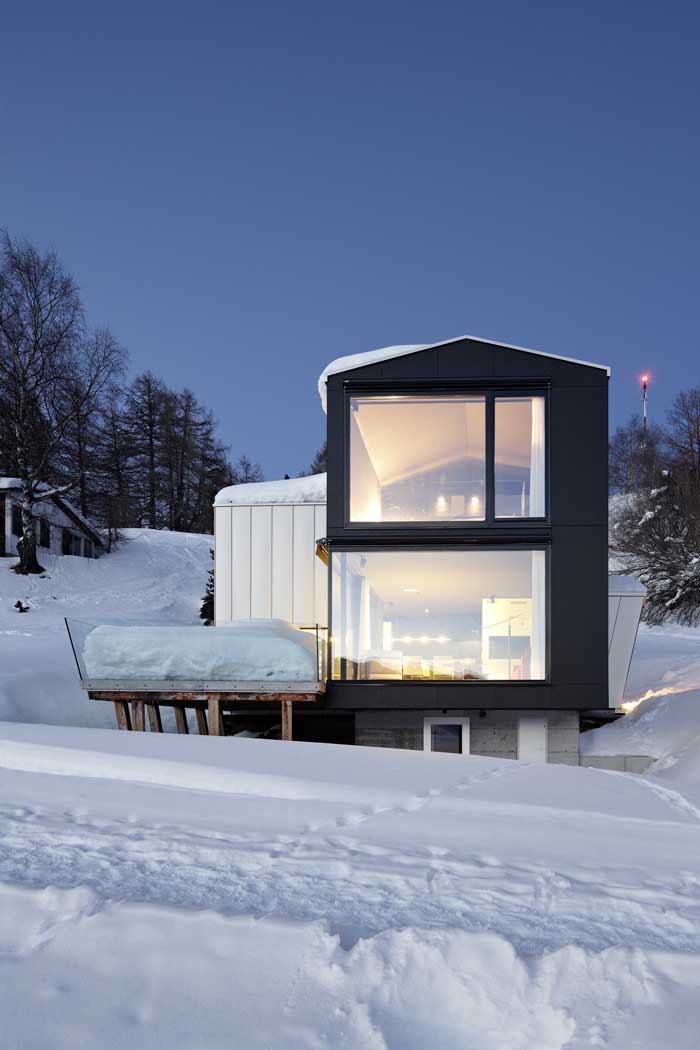
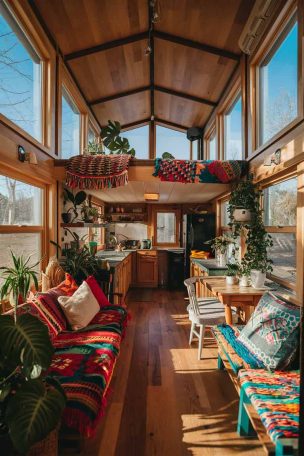
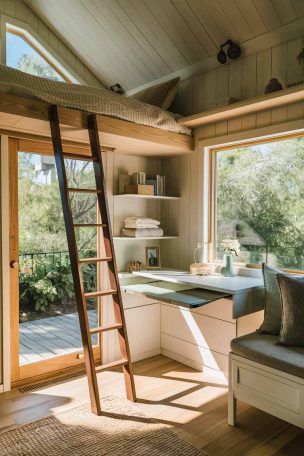
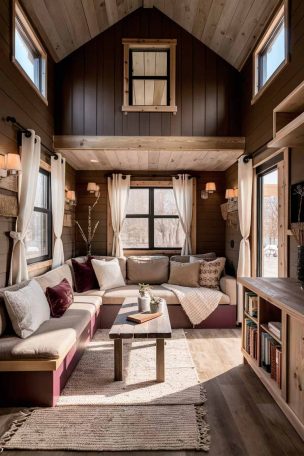
Ah, winter. For some, it’s a magical season of snow-capped landscapes and warm cocoa by the fire. For tiny house dwellers, though, it can be a challenging time. Limited space, potential insulation issues, and the constant battle against the cold can make winter living in a tiny house seem daunting. But fear not! With proper preparation and a solid strategy, you can survive and thrive in your tiny home during the coldest months of the year.
The key to successful tiny house winter living lies in addressing several crucial areas: insulation and weatherproofing, heating systems, water and plumbing considerations, and lifestyle adjustments. By tackling each of these aspects head-on, you’ll create a warm, efficient, and comfortable living space that can withstand whatever Jack Frost throws your way.
Insulation and Weatherproofing: Your First Line of Defense
When it comes to keeping your tiny house warm in winter, insulation, and weatherproofing are your best friends. Think of them as the cozy sweater and windbreaker for your home – essential for trapping heat and keeping the cold at bay.
Choosing the Right Insulation
Selecting the right insulation for your tiny house is crucial. You’ve got a few options to consider:
- Spray foam insulation: This is a popular choice for many tiny house owners. It expands to fill every nook and cranny, creating an excellent air barrier. While it can be a bit pricier upfront, its superior insulating properties often make it worth the investment.
- Fiberglass batts: These are a more budget-friendly option and can be effective if installed correctly. The key here is to avoid compressing the batts, as this reduces their insulating power. Make sure to wear protective gear when handling fiberglass – trust me, you don’t want that stuff in your lungs!
- Rigid foam boards: These are great for areas where space is at a premium. They offer excellent insulation value for their thickness and can be easily cut to fit odd spaces.
Personally, I’m a fan of using a combination of these materials. Spray foam for those hard-to-reach areas, rigid foam for walls and ceilings, and fiberglass batts for filling in the gaps. It’s like creating a warm, protective cocoon for your tiny home.
Sealing Air Leaks
Now, having great insulation is only half the battle. You also need to make sure you’re not letting all that precious warm air escape through cracks and crevices. Here’s how to tackle those sneaky air leaks:
- Identify problem areas: Doors, windows, electrical outlets, and any place where pipes or wires enter your home are common culprits. On a windy day, hold a lit incense stick near these areas – if the smoke wavers, you’ve found a leak.
- Seal it up: Use weatherstripping around doors and windows and caulk any visible gaps. For outlets, you can find inexpensive foam gaskets that fit behind the cover plates.
- Don’t forget the big picture: Consider using a blower door test to identify less obvious air leaks. It might seem like overkill for a tiny house, but remember – in a small space, every little draft counts!
Protecting the Foundation
In a tiny house, the floor can be a major source of heat loss. Here’s how to keep it toasty:
- Skirt the base: This involves creating a barrier around the bottom of your tiny house. It not only insulates but also protects your plumbing from freezing. You can use materials like rigid foam, plywood, or even hay bales for a rustic look.
- Insulate from below: If you can access the underside of your floor, add extra insulation. Spray foam works wonders here, creating an airtight seal.
- Don’t forget the vapor barrier: Moisture can be a killer for insulation effectiveness. A good vapor barrier under your tiny house can prevent ground moisture from seeping up and reducing your insulation’s efficiency.
Roof and Ceiling Insulation
Remember, heat rises, so a well-insulated roof is crucial. Here are some tips:
- Add extra insulation to your roof: If possible, add an extra layer of rigid foam insulation above your roof decking before adding your roofing material.
- Don’t neglect the ceiling: Inside, ensure your ceiling is well-insulated. This might mean sacrificing a bit of headroom, but it’s worth it for the warmth.
- Balance insulation with ventilation: While you want to keep warm air in, you also need to allow for some airflow to prevent moisture buildup. Consider adding a small, insulated vent or two to allow for air circulation.
By focusing on these insulation and weatherproofing strategies, you’re setting a solid foundation for a warm and cozy tiny house winter. But we’re not done yet – let’s move on to heating systems!
Heating Systems: Choosing the Right Solution
Now that we’ve got our tiny house all wrapped up and cozy, let’s talk about keeping it warm. Choosing the right heating system for your tiny house is crucial – it needs to be efficient, safe, and suited to your specific needs. Let’s break down some popular options:
Wood Stoves
Ah, the classic wood stove. There’s something undeniably charming about a crackling fire on a cold winter’s night. But is it right for your tiny house? Let’s weigh the pros and cons:
Pros:
- Efficient heat output
- Perfect for off-grid living
- Creates a cozy ambiance
Cons:
- Requires space for the stove and wood storage
- Regular maintenance needed
- Potential safety concerns if not properly installed
If you do opt for a wood stove, make sure it’s specifically designed for small spaces. For instance, the Cubic Mini wood stove is popular among tiny house dwellers, but be aware that it requires frequent maintenance and can emit fumes if not properly vented.
Safety tip: Always ensure proper ventilation and follow local building codes when installing a wood stove. Carbon monoxide is no joke!
Propane Heaters
Propane heaters are another popular choice for tiny houses. They come in both portable and fixed installation options:
- Portable propane heaters: Great for flexibility, but be cautious about ventilation.
- Fixed propane heaters: A more permanent solution, often more efficient for whole-house heating.
When choosing a propane heater, pay attention to the BTU rating. For most tiny houses, a heater between 20,000-30,000 BTUs should suffice, but this can vary based on your climate and insulation.
Remember, any propane heater needs proper ventilation to prevent carbon monoxide buildup. Always follow manufacturer guidelines and consider installing a carbon monoxide detector for added safety.
Electric Heating Options
Electric heating can be a great choice, especially if you have access to grid power or a robust solar system. Here are some options to consider:
- Space heaters: These are affordable and portable, perfect for heating small areas quickly. Look for models with tip-over protection and automatic shut-off features for safety.
- Radiant floor heating: This luxurious option provides even heat from the ground up. It’s energy-efficient and doesn’t take up any living space, but installation can be complex and costly.
- Mini-split heat pumps: These are my personal favorite for tiny houses. They’re incredibly efficient, provide both heating and cooling and don’t require ductwork. Plus, they can be powered by solar if you’re living off-grid.
Alternative Heating Solutions
For the eco-conscious tiny house dweller, there are some interesting alternative heating options to explore:
- Solar heating systems: These can be either passive (using strategic window placement and thermal mass) or active (using solar collectors to heat air or water). They’re great for reducing your carbon footprint but may need to be supplemented in very cold climates.
- Eco-friendly heaters: Products like the Eco-King Winterwarm High Efficient Unit Heater offer energy-efficient heating with a lower environmental impact.
- Custom solutions: Some tiny house owners get creative with custom-built heating solutions. I’ve seen everything from rocket mass heaters to geothermal systems adapted for tiny houses!
Remember, the best heating solution for your tiny house will depend on your specific circumstances – your climate, whether you’re on or off-grid, your budget, and your personal preferences. Don’t be afraid to mix and match solutions to create the perfect heating system for your tiny home.
Water and Plumbing: Preventing Freezing and Ensuring Comfort
When the mercury drops, your tiny house’s water system can be particularly vulnerable. Nothing puts a damper on winter living quite like frozen pipes or a malfunctioning toilet. Let’s dive into how to keep your water flowing and your plumbing functional all winter long.
Pipe Insulation Techniques
Protecting your pipes from freezing is crucial. Here are some effective techniques:
- Heat tape: This is an electrical heating element that you can wrap around pipes to keep them from freezing. It’s especially useful for exposed pipes or those in particularly cold areas.
- Foam pipe insulation: This is an easy DIY solution. Simply cut the foam to fit and slide it over your pipes. Make sure to insulate all your pipes, not just the ones you think might freeze.
- Dealing with outdoor connections: For any outdoor spigots or connections, use insulated covers. You can find these at most hardware stores, or make your own using old towels and duct tape in a pinch.
Pro tip: Don’t forget about the pipes in your walls! If you have access, adding extra insulation around these pipes can prevent freezing and improve your overall energy efficiency.
Water Tank Protection
If your tiny house has a water tank, protecting it from freezing is essential. Here’s how:
- Insulation: Wrap your tank in an insulating blanket. You can buy these or make your own using fiberglass insulation and a waterproof cover.
- Heating solutions: For extreme cold, consider a tank heater. These can be electrical heating elements that sit inside the tank or heating pads that attach to the outside.
- Monitoring systems: Install a temperature sensor on your tank. This can alert you if the temperature drops to dangerous levels, allowing you to take action before freezing occurs.
Composting Toilets in Cold Weather
Composting toilets are popular in tiny houses, but they can face challenges in cold weather. Here’s how to keep them functioning:
- Insulation: If your composting toilet is in an unheated area, consider insulating around it. This can help maintain the temperature needed for proper composting.
- Adjust your composting process: In colder temperatures, you might need to add more carbon material (like sawdust) to your toilet to help maintain the right balance for composting.
- Heating options: Some composting toilets come with built-in heaters. If yours doesn’t, you might consider a small space heater nearby to keep the temperature up.
Remember, if temperatures drop extremely low, you might need to switch to alternative methods temporarily. Always have a backup plan!
Water Heater Considerations
Having hot water in winter is not just a luxury – it’s a necessity. Here’s what to consider:
- Tankless vs. tank heaters: Tankless heaters are often preferred in tiny houses due to their small size and energy efficiency. However, in very cold climates, they may struggle to heat water quickly enough.
- Freeze protection features: Look for water heaters with built-in freeze protection. These typically have sensors that trigger a heating element when temperatures approach freezing.
- Sizing and efficiency: In a tiny house, every bit of energy counts. Make sure your water heater is appropriately sized for your needs and look for high-efficiency models to keep your energy use down.
By taking care of your water and plumbing systems, you’ll ensure that your tiny house remains a comfortable haven, even in the depths of winter. But comfort isn’t just about systems and infrastructure – it’s also about how you live in your space. Let’s explore some lifestyle adjustments that can make tiny house winter living more enjoyable.
Lifestyle Adjustments for Winter Comfort
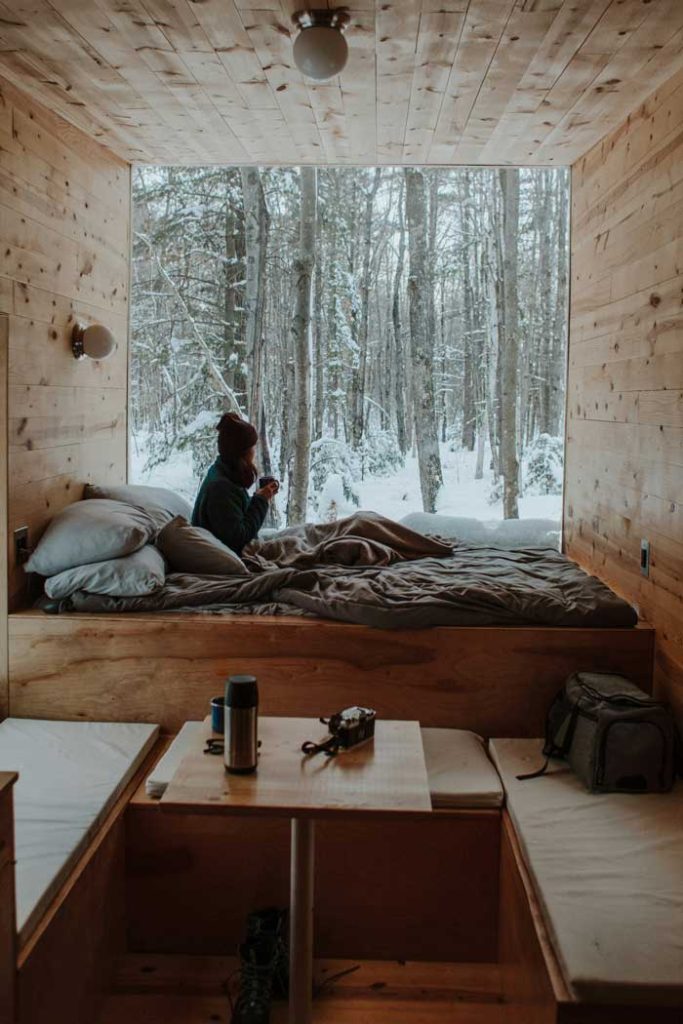
Living in a tiny house during winter isn’t just about having the right systems in place – it’s also about adapting your lifestyle to make the most of your cozy space. Let’s explore some strategies to keep you comfortable and happy throughout the colder months.
Clothing and Bedding Strategies
In a tiny house, your clothing and bedding choices can make a big difference in your comfort level. Here’s how to stay cozy:
- Layer up: Invest in good quality base layers, warm sweaters, and cozy socks. The key is to be able to add or remove layers easily as your activity level changes throughout the day.
- Bedding matters: Opt for warm, breathable bedding materials like wool or down. A good quality comforter can make all the difference on a cold night.
- Smart storage: In a tiny house, space is at a premium. Use vacuum storage bags to compress bulky winter gear when not in use. Over-the-door organizers can be great for storing hats, gloves, and scarves.
Pro tip: Keep a pair of warm slippers by your bed. Your feet will thank you on those chilly morning floors!
Humidity Control
Controlling humidity in a tiny house during winter can be tricky, but it’s crucial for comfort and preventing mold growth. Here’s what you need to know:
- Signs of excess humidity: Condensation on windows, damp surfaces, or a musty smell are all indicators that your humidity might be too high.
- Dehumidifier options: For small spaces, a compact dehumidifier can work wonders. Look for one with a built-in hygrometer so you can monitor your humidity levels.
- Natural methods: Simple actions like cracking a window while cooking or showering, using moisture-absorbing plants like peace lilies, or placing bowls of rock salt in damp areas can help control humidity naturally.
Remember, the goal is to keep humidity between 30-50%. Too low, and you might experience dry skin and static electricity. Too high, and you risk mold growth and that clammy feeling we all dread.
Winter-Specific Design Elements
A few smart design choices can make your tiny house much more comfortable in winter:
- Entryway design: Create a small mudroom or entry area where you can remove snowy boots and wet coats without tracking moisture through your entire house.
- Window coverings: Thermal curtains or cellular shades can add an extra layer of insulation to your windows. Open them during sunny days to let in natural heat, and close them at night to retain warmth.
- Furniture arrangement: Position your seating away from external walls and windows to avoid cold drafts. Use area rugs to add warmth to your floors and create cozy zones within your space.
Outdoor Considerations
Don’t forget about the area around your tiny house:
- Create windbreaks: Strategically placed fences, shrubs, or even snow banks can help shield your tiny house from harsh winds.
- Snow removal: Have a plan for keeping your roof clear of heavy snow. A roof rake can be a lifesaver for preventing ice dams and structural stress.
- Emergency preparedness: Always have an emergency kit ready with essentials like non-perishable food, water, flashlights, and a battery-powered radio. Winter storms can be unpredictable!
By making these lifestyle adjustments, you’ll find that winter in your tiny house can be not just bearable but downright enjoyable. Embrace the coziness of your small space and the simplicity it brings to your life.
Future-Proofing Your Tiny House for Winter
As you settle into your tiny house winter routine, you might start dreaming about improvements for future winters. Let’s explore some ways to future-proof your tiny abode for even cozier cold seasons to come.
Planned Expansions and Modifications
Think about how you might modify your tiny house to better suit your winter needs:
- Adding a standard wood stove: If you’ve been using a smaller stove or electric heat, upgrading to a standard wood stove could provide more efficient heating. Just remember to plan for proper ventilation and consider the space requirements – both for the stove itself and for wood storage.
- Incorporating a dedicated living room: If space allows, creating a separate living area can make winter days more comfortable. This could be as simple as rearranging your current layout or as complex as adding a small bump-out to your tiny house.
- Designing a utility closet: A dedicated space for winter gear, tools, and equipment can keep your living area clutter-free and organized. This could include storage for snow shovels, extra propane tanks, or even a small generator.
Remember, any significant modifications should be done with professional help to ensure they meet safety standards and local building codes.
Exploring Alternative Building Materials
For those considering a new build or major renovations, exploring alternative materials could lead to better winter performance:
- Hempcrete: This material, made from hemp hurds and lime, offers excellent insulation properties and naturally regulates moisture. It’s also carbon-negative, making it an eco-friendly choice.
- Rammed earth: While more common in warmer climates, rammed earth walls with proper insulation can provide excellent thermal mass, helping to regulate indoor temperatures.
- Structural Insulated Panels (SIPs): These prefabricated panels combine insulation and structural elements, offering excellent energy efficiency and faster construction times. They can be particularly beneficial for tiny houses, where every inch of wall thickness counts.
When considering these alternative materials, always weigh their benefits against factors like cost, availability, and your local climate. What works well in a dry, cold climate might not be ideal for a damp, coastal winter.
Smart Home Technologies for Winter Efficiency
Embracing smart home tech can take your tiny house winter living to the next level:
- Programmable thermostats: These allow you to set different temperatures for different times of day, maximizing comfort while minimizing energy use. Some models even learn your habits and adjust automatically.
- Remote monitoring systems: These are especially useful for off-grid tiny houses. They can alert you to issues like low battery levels in your solar system or unexpected temperature drops, even when you’re away.
- Energy usage tracking: Smart meters or energy monitoring systems can help you understand your energy consumption patterns. This information is invaluable for optimizing your energy use during the energy-intensive winter months.
- Smart window coverings: Automated blinds or curtains can be programmed to open during sunny winter days to let in natural heat and close at night to retain warmth.
- Occupancy sensors: These can automatically adjust heating and lighting based on whether a space is being used, which is particularly useful in a tiny house where you might move between areas frequently.
Remember, while these technologies can greatly improve efficiency, they also require power to operate. If you’re off-grid, make sure your power system can handle the additional load.
Conclusion
Winter living in a tiny house presents unique challenges, but with the right preparation and mindset, it can also be an incredibly rewarding experience. From robust insulation and efficient heating systems to smart lifestyle adjustments and future-proofing strategies, there are numerous ways to make your tiny home a cozy winter haven.
As you implement these strategies, remember that every tiny house is unique. What works perfectly for one might need tweaking for another. Don’t be afraid to experiment and find the solutions that work best for your specific situation.
Embrace the intimacy and simplicity that winter in a tiny house can bring. There’s something special about being snug in your little space while the winter world carries on outside. It’s an opportunity to slow down, reflect, and truly appreciate the comforts of home – no matter how small that home might be.
As you curl up in your well-insulated, efficiently heated tiny house this winter, take a moment to appreciate the journey. You’re not just surviving winter in a tiny house – you’re thriving in it. And that’s something to be proud of.
Remember, the tiny house community is full of innovative, resourceful people. Don’t hesitate to reach out and share your experiences or ask for advice. After all, one of the best things about tiny living is the supportive community that comes with it.
Here’s to warm, cozy, and joyful winters in your tiny home! May your space be warm, your cocoa be hot, and your winter adventures be plentiful. Happy tiny house winter living!

